Category Archives: Outdoor

Create a relaxing and beautiful outdoor space!

Fire Pit and Flagstone makes for a Favorite Spot in our Yard

fire3

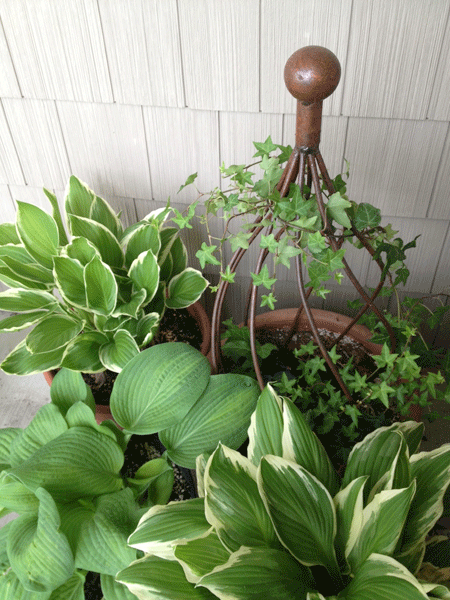
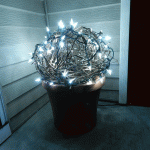
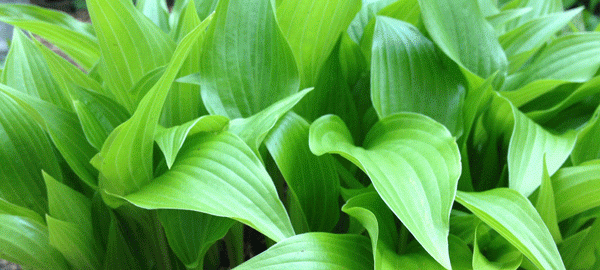
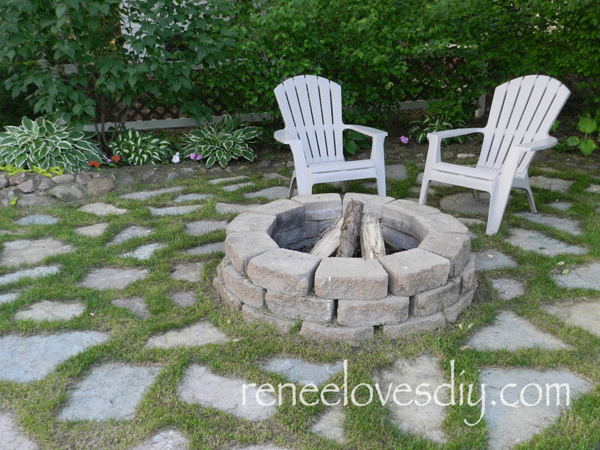
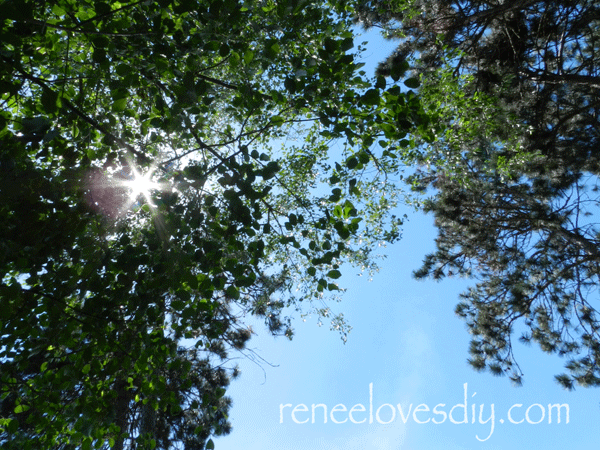
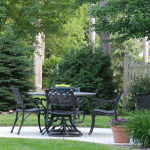
This is absolutely my favorite spot in my yard.  Most hours of the day it is shady with only a small amount of dappled light and many times a delightful breeze.

It is a wonderful place to put your feet up and think about your day while sipping your morning coffee or in the evening, socialize with friends and bask in the warmth of an open fire.

Beautiful Shady View

My goal, in creating this space, was for my children to invite their friends and socialize – at my home – where I could keep an eye on them!  It’s what we all want as parents – right?

It turns out that we adults use the space as much as the kids.   I love to sit out there any time of the day.  I can work on my computer, read a book, or just relax!

The making of my favorite spot:

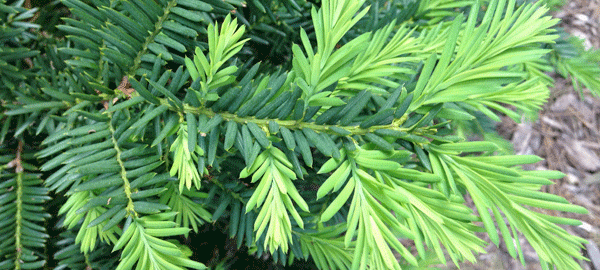
Privacy – To make it difficult for peering eyes, I planted a hedge around the corner of my yard.  I love my neighbors, but sometimes it’s nice to feel alone!

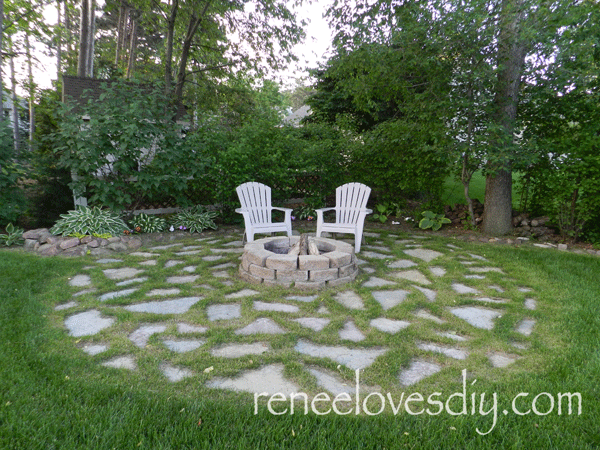
Fire Pit – Mine is constructed of  concrete blocks.  Go to your local home store and they will be able to set you up with something similar.

After locating the spot for the fire pit, I cleared it of grass, leveled it out and laid out my stone.

Flagstone Area – Because I wanted my fire pit to have it’s own space, an outdoor room if you will.  I laid flagstone, encircling the fire pit.  Since I already have a “formal patio area”  I wanted this to be a casual space so I left 3-4 inches of grass between the stones.

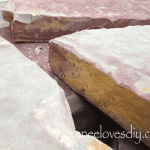
The flagstone I purchased locally and it currently sells for $0.15/pound.  Flagstone comes in many colors and I liked all of them so I purchased a little of everything!

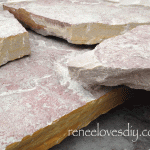
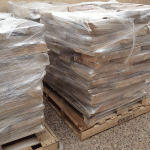
Because I have a vehicle capable of hauling stone, my husband and I made a few trips to a natural stone retailer.  Our process was to load the stone in the truck, lay out the stone as we unloaded it , decide more stone was required and go get another load!  It took 3 trips to carry enough flagstone.  Yes – I could have had it delivered, but this way I was able to pick the colors of the stone and build muscle…lots of muscle!

For this project I used over a ton of stone and it’s not that difficult.  Only the really big flagstones  are hard to move and I only had a few of them!  Plus – it is kind of fun to say “I moved a ton of stone today!”


Flagstone
Flagstone

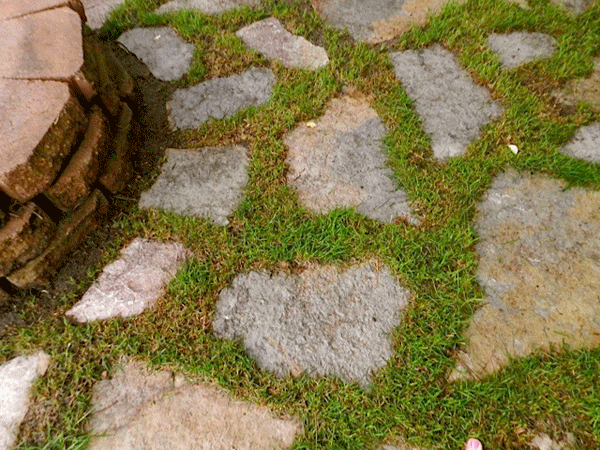
Starting at the fire pit, I placed stones that “fit” around the concrete blocks, leaving a couple of inches between the flagstones for grass.  After laying the stone in place, I used a knife to cut it’s outline in the grass, moved the flagstone and removed the grass with a flat shovel and garden trowel.  I also had sand on hand to help level the space the stone was to lay in and a rubber mallet to pound it into place.  Getting the stones to lay flat meant moving the stone in and out of place a few times, but it was well worth it.

From this spot I can gaze across to the rest of my beautiful yard.  There is nothing better than appreciating your hard work with your feet up and a refreshing beverage in your hand!

Before you begin a fire pit project, make sure you can legally have a fire pit in your area.  Some cities do not allow them.  Also, keep it away from any fire hazards.  I do have trees in my yard, but we removed any low hanging branches from the area and we never use it in dry weather.

Fire Pit surrounded with flagstone patio

Potted Hostas


Beautiful Hostas on my Porch

Hostas, Hostas everywhere!

Now you know why I was dividing hostas this spring.  For those of you that have not read my earlier post, check out Spring is a great time to divide your perennials!

Last year, a friend of mine had adorned her front entry with hostas and I loved the look so much that I potted up some of my own!

I did go a little crazy and potted up about a dozen of them.  I really didn’t need that many, but I thought they might come in handy decorating outdoor entrances for a fall family wedding.  I have offered them up to the mother of the bride and guess what – she wants them.  Why not?  They are simple and beautiful and when your summer flowers are failing the hostas will come to the rescue!

More Hostas
More Hostas


Outdoor lights are not just for Christmas!

Outdoor Lights
Outdoor Lights

If you are ever a visitor at my home in the evening, you will be greeted with white lights shining brightly from a dwarf spruce tree planted in my front landscaping.  Whether it is December or July, the lights will be there.

For the Christmas season, I hang lots of lights.  They cover the entire front landscaping,  outlining the front door and brightly shining in the garland that hangs from the porch railing.   But for the rest of the year, this one tree will be lit with led lights connected to a timer set to come on at dusk and stay on for 4 hours.

Why – you ask.   For my friends and visitors, the lights feel welcoming.  To anyone with dishonest intentions, I hope it makes the home feel occupied, like there is a presence, even if there isn’t.

Grapevine ball with lights

At my back patio door, I also have lights.  Just a few.  In the winter, there are pine boughs in a pot.   In the spring, its a grapevine ball (in a future post – I’ll show you how to make these!  So check back! ) In the summer, a lighted trellis is tucked into potted plants.  I will always leave them there because I know it comforts my neighbor, who is sometimes alone.  She has commented, more than once, how she appreciates them.

It turns out, I’m not the only one who finds comfort in lights!

Spring is a great time to divide your plants!


This time of year is a great time to divide your perennial plants while they are just popping up after a long hard winter.  I have many hostas in my yard and this year I want to plant a few in pots to help decorate my front porch.  Last year, a friend of mine adorned her front steps with potted hostas and it was lovely.

The best part is –  if you already have the hostas, it costs next to nothing!

Creeping Jenny
Creeping Jenny

The biggest challenge to this project is getting over the fear of hurting your plant – it will be fine.  You will only be stealing a small part to use elsewhere.

The Creeping Jenny, shown above,  does just as it’s name implies – it creeps everywhere!  The vine branches spread out and will re-root creating another plant.

Find one of these, dig straight in with your trowel and gently remove the plant, disconnecting it from the connecting branch.

Plant the vine in your pot keeping the level of the plant the same depth as it was when you removed it from the ground.  Water it well.  I like to fertilize with a root stimulator to give the plant a good start.

To split a hosta, dig in with your trowel and remove a section of the plant.  In the picture I have 5 eyes from the hosta, but you can take as much as you want.  Sometimes hostas get so large that you may want to divide them into multiple plants.  In that case, you can dig up the entire plant, divide it and replant a smaller section back in it’s spot.

So many options – what will you do!

Tulips


Last fall, I purchased a bag of white tulips on clearance with the plan of forcing them in a pot. I tossed the bag in my garage, so they could experience 12+ weeks of cold!

Tulips need to experience winter weather in order for them to bloom and this year that was not a problem – many, many, many weeks of cold winter weather!

Patiently, I waited until March when small signs of springs were emerging to plant my bulbs in a pot.

Following the directions on the package, I knew my particular tulips needed to be planted 6 inches deep. I half filled my clay pot with potting soil and tucked all 14-tulip bulbs into the soil – bud end up, rounded end down – it matters! I then buried the bulbs, watered my pot well and placed it back in the garage.

Two weeks later I checked my pot and voila – tulips were popping out.
I moved the pot outside on my porch and continued to wait…

Waiting for tulips!

And wait…

Beautiful

Beautiful!
I’m doing this again next year!