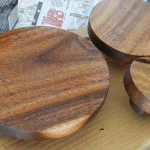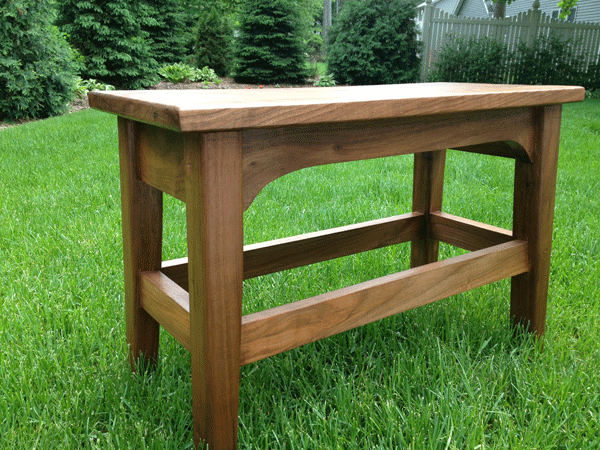
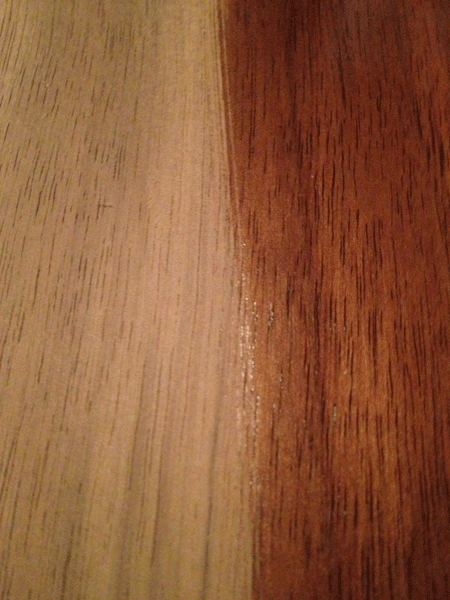
The black walnut bench, seen in the picture, was built by my 83 year old father. He creates beautiful pieces and one of his favorite woods to work with is – you guessed it – black walnut. It is beautiful, easy to work with and rarely requires stain. Varnish is usually all that is required to create the beautiful color you see in the picture.
Black walnut has many shades of brown, some grey and a beautiful grain. For those of you not familiar with this type of wood, it is beautiful.

Here is a link to a wood working shop that has a funny story about black walnut and why furniture craftsmen dislike paint! My father is included in that category! No wood craftsman wants to cover nature’s graceful grains, especially when it is black walnut!
Since my father does not enjoy staining or varnishing, that job usually falls in my court and I am happy to do it. My home is filled with beautiful furniture that he has built and I have finished.
Because black walnut naturally has a beautiful color, the only finish usually required it a smooth coat of varnish. In a previous post – Applying Varnish to Beautify and Protect Wood, I briefly discuss applying varnish to unfinished wood. The project I wrote about in that post was very simple, but honestly, varnishing this bench was done the same way. There was just a lot more ground to cover!
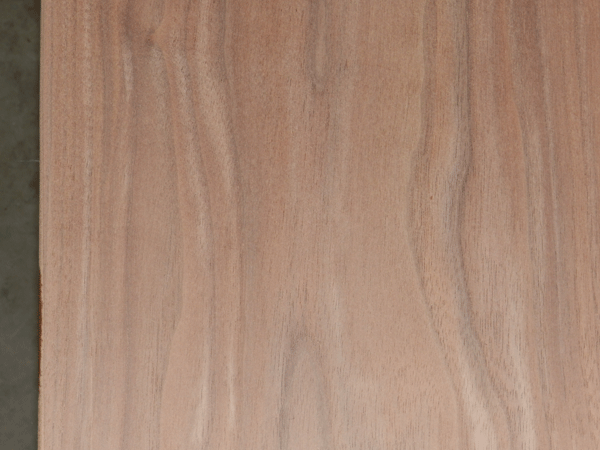
The most important aspect of varnishing is to make sure the surface you are about to varnish is smooth – very smooth. That means sanding everywhere and don’t forget areas like – under the seat sides, where you may curl your fingers while relaxing on the bench. Nobody wants a splinter!
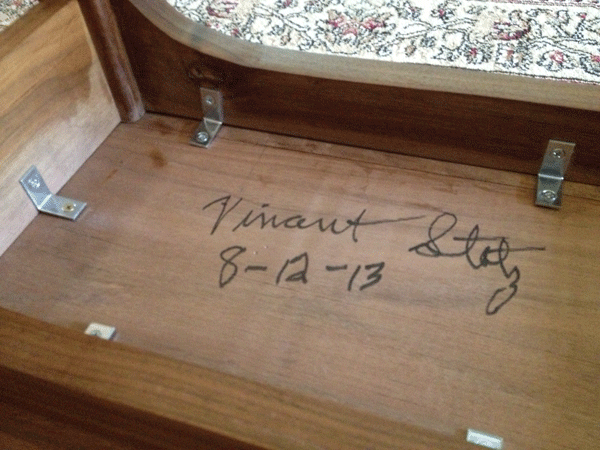
When I work on a project like this, I will sand and varnish every inch of the bench except perhaps under the seat where the craftsman’s autograph might be found!
The most challenging areas of my bench were around the legs. Any glue that had oozed out of the joints had to be removed. I used sand paper, a sanding sponge and even a chisel when necessary. The varnish will not absorb into the wood if the glue is present and you will see a discoloring in your project. Bottom line – remove all traces of glue!
As far as the number of coats to apply, refer to your can of varnish. For a project like this, where the bench is in a high traffic area, I applied three coats to the entire bench and a fourth coat to the seat area. Between each coat, I lightly sanded any rough areas and thoroughly wiped the surface clean before applying the next coat.
Check back to my site tomorrow to see where, in my house, the bench and CB2 dot coat hooks were used! These pieces are beautiful, useful and oh so fun!
