Chalkboards
I love chalkboards. Why? I don’t know? I just do! Maybe it’s because they can be easily erased. I am not a great artist, but I love creating things. Chalk is a great way to expand your horizons and quickly wipe away anything you find to be less than beautiful!
When we moved into our new home, I wanted to create a fun space for my children and their friends to hang out. My kids were new in their school and it was one thing I could do for them so they would be comfortable having friends over. Well, it paid off. Prom parties, sleepovers, PS3 parties, game night, we have had them all and lots of them. This was one time when my plotting worked! If only all my plans worked out so well!
To create a fun basement space for the kids meant I needed to decorate! With all the homes I have moved to, I have learned that the cheapest decoration is paint. Paint is wonderful because it is inexpensive and easy to get rid of. When the kids out grow the flowers stenciled on their walls from when they were 5 – paint over it.
Another thing I learned with all the moves – always keep extra base wall paint and label it. In a paint can, all yellows look alike!
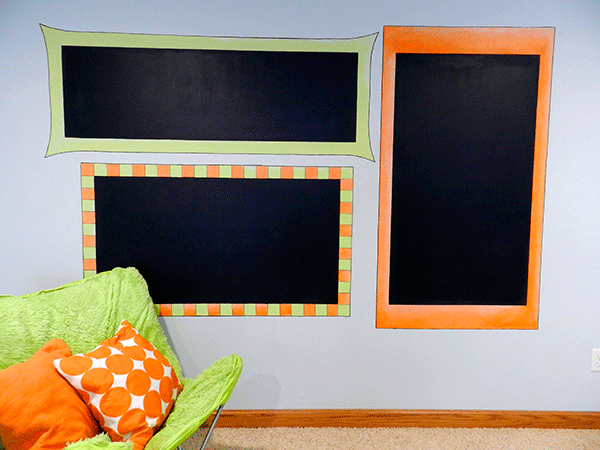
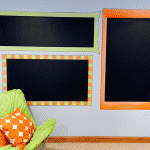
Chalkboards were an easy and kid interactive decoration that was painless to accomplish. Since my wall was so large and one chalkboard seemed too boring, I decided to create 3 of them, each with a distinctive border. To accomplish this I first drew on paper what I wanted the chalkboard combination to look like. Then I measured out my wall and planned out the sizes. Using a yard stick and a large level, I drew out everything. As you can see in the picture, some of the boarders were done free hand, but it’s easy enough. Just make sure you have a big eraser and keep drawing until you get it just right!
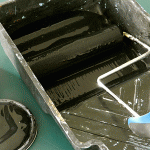
Next, I taped off all the chalkboards and rolled the paint on. As you can see from the pictures, I used a small foam roller. They are quick and easy and perfect for a small job like this. You will need to put on multiple layers of paint so follow the directions on your paint can.
Once the boards are painted you will want to let the paint dry completely. I would wait at least a day before covering the chalk paint with painters tape for the borders. The last thing you want is for the paint to lift off when you remove the tape.
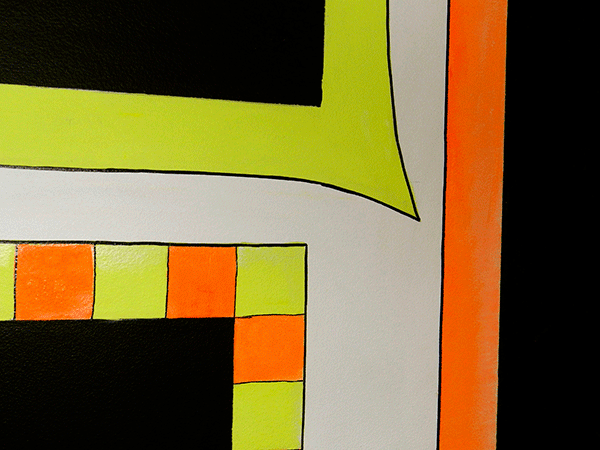
The most difficult boarder was the checkerboard. I taped off the chalkboard, then using a wide painters paint I taped off every other square. With the checkerboard you want to make sure you have a full square on each corner. Mark it off ahead of time and if you need to, make your squares in between the ends a little smaller or a little larger. As long as the discrepancy between sizes is not too great, no one will notice. Again, once all the blocks of one color was painted, I waited for the paint to completely dry before taping the other squares. If you are very proficient you can do the squares free hand. I am not that proficient. Tape is my friend!
The other boarders were easy enough. I taped off what I could and free handed the rest. Ok – I’m a little proficient!
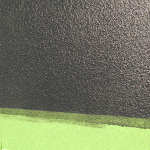
After everything was painted, I did some shading on the boarders and edged everything with black paint pens. Shading gave the boarders dimension and I highly recommend it. Don’t be intimidated by this. Imagine the sun is shining on your project and lighten the areas the sun would light up or darken the areas that would be shaded. Try it! You will be glad you did!
The last thing to do with chalkboards is to condition them. To do this, rub chalk over the entire chalkboard and erase it. You are now ready to create chalkboard art!


OOPS! – Don’t forget to use a drop cloth and painter’s tape!