Category Archives: Creative Gifts

Gifts out of the ordinary and quite extraordinary!

Clothesline Photo Gallery


Clothesline Photo Gallery

Create a photo gallery that can be hung anywhere!

My daughter received one of these as a gift when she graduated from high school and she used it in her dorm and every apartment since for displaying photos.

The great thing about this photo gallery, besides being adorable, is that it is wonderful for anyone with limited space for framed photos!   College students, apartment dwellers, and our dearest teenagers will love this clothesline gallery for hanging their favorite photos of their friends, pets and family, especially those special photos of mom!
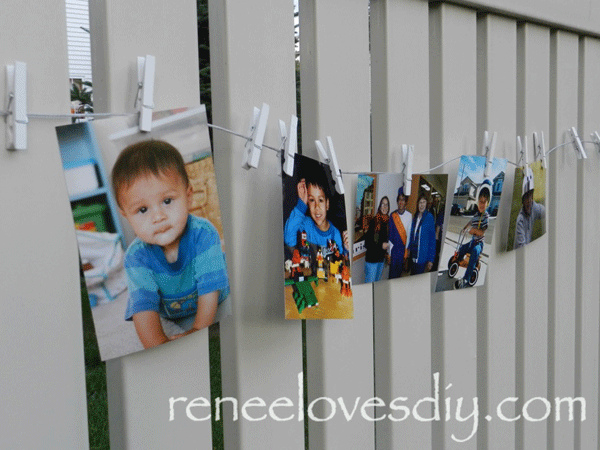
Make a Photo Clothesline!
Make your own Photo Clothesline!

In this post, I demonstrate two ways to make the photo clothesline gallery. One uses mini-clothespins and the other uses decorative brads and magnets!

What do you need?
Picture Wire
D-ring Frame Hangers
Glow Stick Connectors
Mini-Clothespins
or
Decorative Brads and Mini-magnets
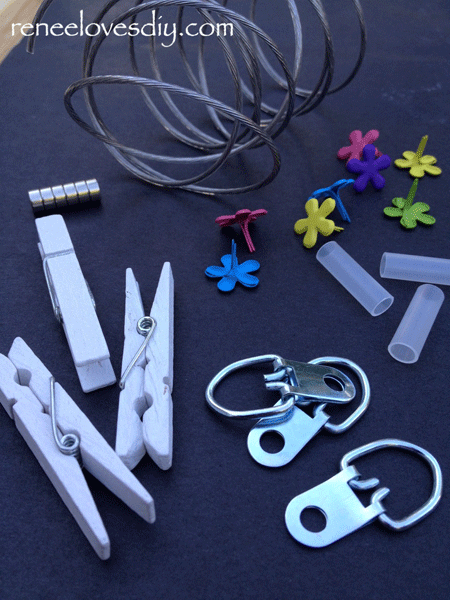
Clothesline Photo Gallery

First things first – you need a good quality picture wire.  This is a 30 pound coated wire.  No – you will not have 30 pounds of pictures, but the wire is a nice thickness for hanging pictures on and it is very easy to bend and twist.  We consulted with a professional picture framer on this one and she was right, it works perfectly!

The wire came in a 9 foot length, which was longer than we wanted so we used half of it!
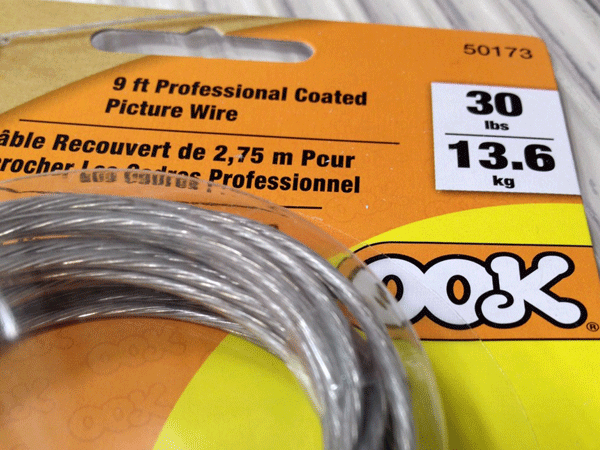
Wire for the Clothesline Photo Gallery

Creating the hooks at the ends for hanging the clothesline, was very simple.

To one end of the wire, slide on a glow-stick connector.  It’s the small plastic tube you see in the picture that would normally be used to connect two glow-sticks together. The connectors work perfectly for covering the twisted wire and finishing off the looped ends.

Bend the wire 1.5″ from it’s end and slide the hole of a D-ring frame hanger into the bend in the wire.  Wrap the short end of the wire around to keep the D-ring in place.  Slide the glow-stick connector over the twisted wire and that’s it!  Do the same thing to the other side so you can hang the wire like a clothesline!
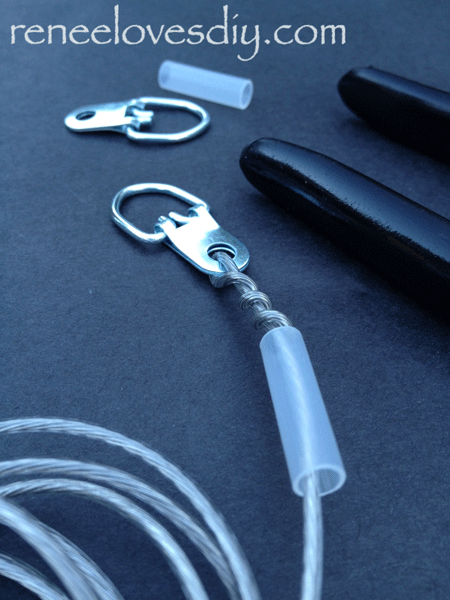
Attach D-ring Frame Hangers

When gifting a Clothesline Photo Gallery, I always include a package of command hooks so  the gift can be hung immediately!
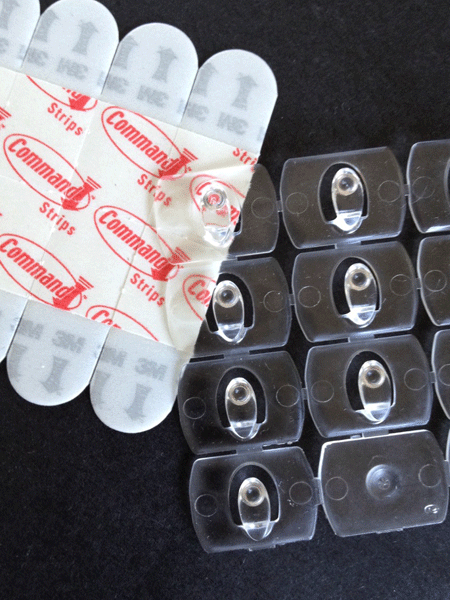
Command Hooks for the Clothesline Photo Gallery

If you choose to hang your photos with clothespins, it is easy to find them. At Michael’s we found them in all colors and designs.  We selected the small white clothespins in order to personalize them!
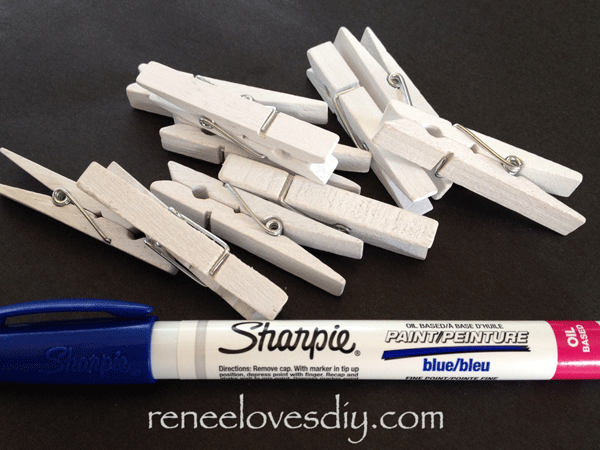
White Clothespins for Photo Gallery

Here are the clothespins my son decorated for a friend of his!  The Sharpie worked fabulously for this project.  It is easy to use and permanent!
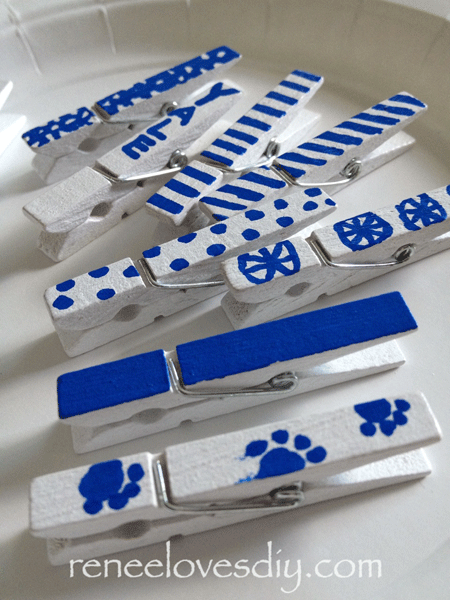
Photo Gallery Clothespins

If you decide you want your photo clothesline to have magnetic clasps to hang the pictures, find decorative brads.  Again at Michael’s or any craft store you will find tons of brads to choose from.  I selected my favorite from the larger brads since the brad needs to be substantial enough for a magnet to stick to and to hold a picture!
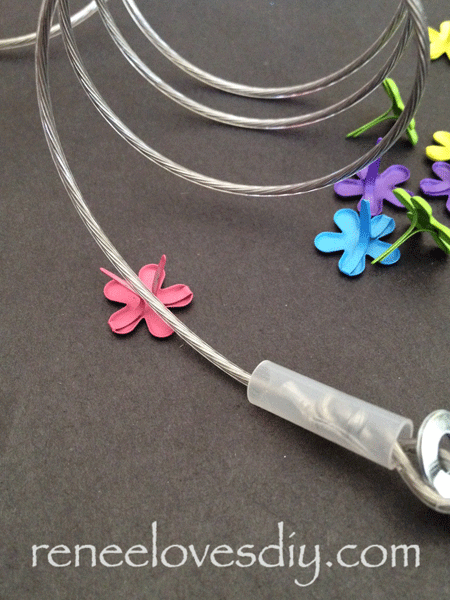
Attaching the Brads to the Photo Clothesline

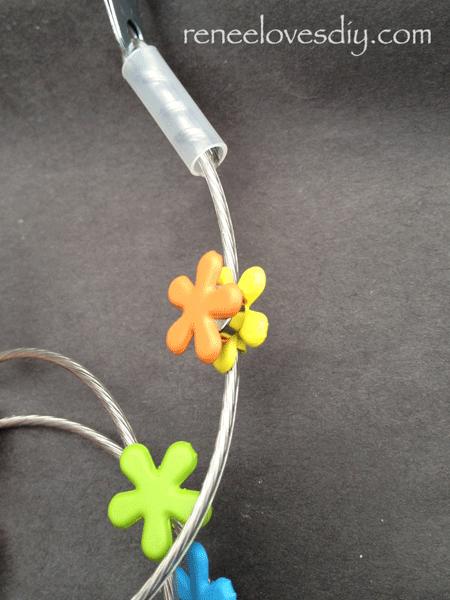
Open up the prongs of the brad and with a needle nose pliers, twist the ends around the wire.  The prongs are easy to bend and the pliers allows you to pull the prongs tightly around the wire so the brad will stay in place.
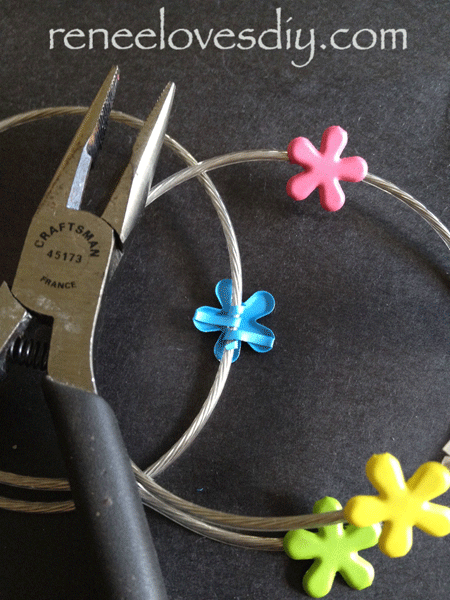
Attaching Brads to the Photo Clothesline!

Attach as many brads as you like.  Not all of them need to have magnets attached to them. Attaching additional brads allows a few more options for hanging pictures!

After you have finished attaching the brads, you will need to make your magnetic clasp.

I purchased Neodymium Magnets at Michael’s again!  The magnets are very strong and 0.25″ in diameter! They were perfect for this project!
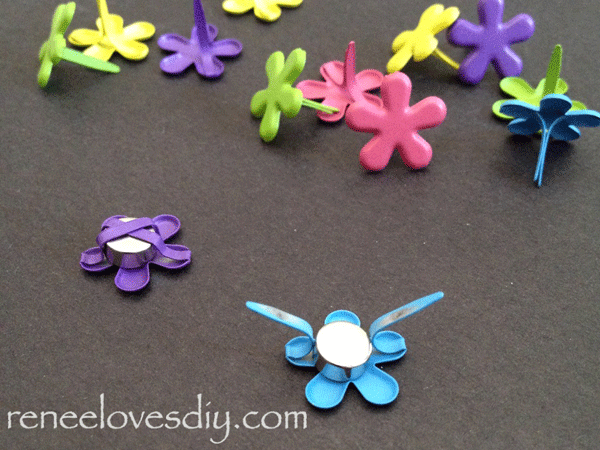
Attaching Magnets to Decorative Brads

Open up the prongs on the back of a brad, align the magnet in the center back and wrap the prongs around the magnet!

The magnetic clasp created is strong enough to hold photos between it’s self and the brads you have attached to your wire!
Magnet Clasp for Clothesline Photo Gallery

You are now ready to hang your photos!

Clothesline Photo Gallery

This is a great gift to make for high school graduates heading off to college this fall!
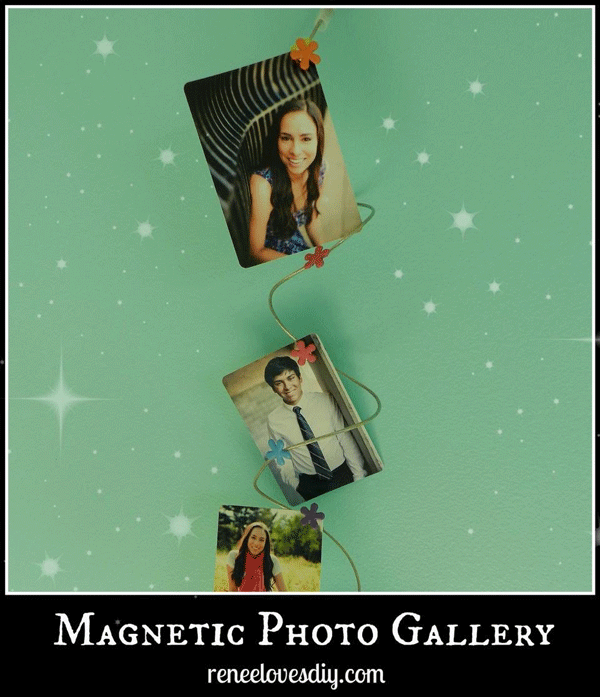
Magnetic Photo Gallery
I linked up to iheartnaptime!

Rice Krispie Treat Baskets

Rice Krispie Treat Baskets

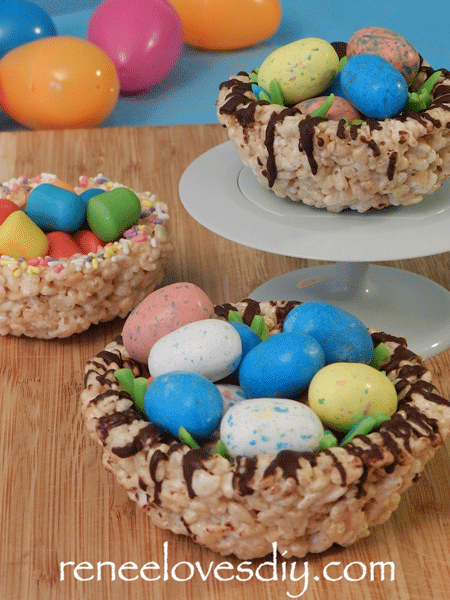
Everyone loves the crispy goodness of Rice Krispie treats.  Mold the treats into a basket, add Easter candy and you have created a fun addition to your Easter celebrations!

What do you need?
Fresh batch of Rice Krispie treats
Muffin Tin – you will be using it upside down!
Candy – lots of candy!

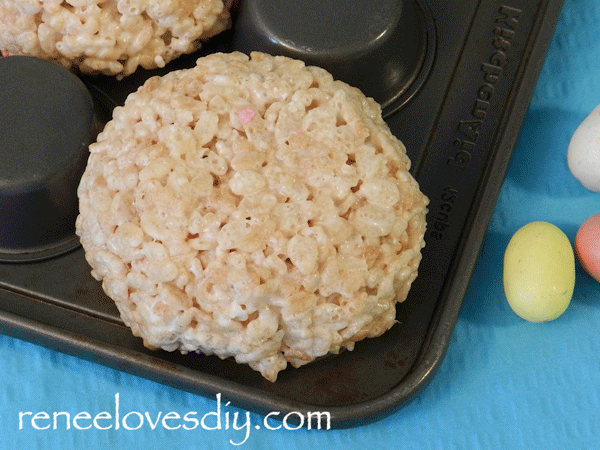
After mixing up a batch of Rice Krispie treats, cool slightly then mold the Rice Krispies around the underside of a greased muffin tin.   I used a standard size muffin tin and a mini-muffin tin.  The mini-muffin tin worked best.  The baskets made with the standard muffin tin held up pretty well, but if not eaten quickly enough they will start to sag!

You will need to alternate holes on the muffin tin to have room for the bowls!

Rice Krispie Treat Baskets

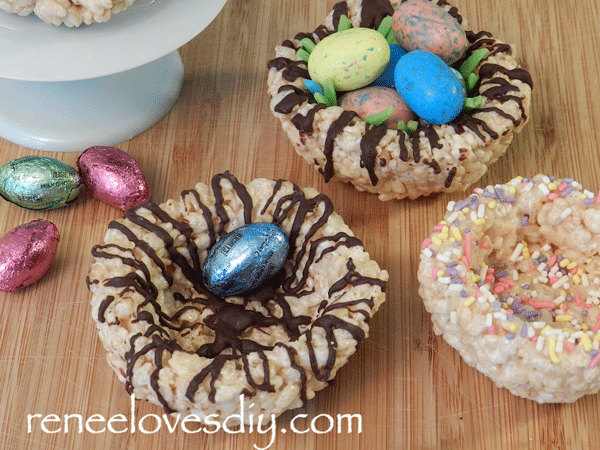
After the bowls set up, I removed them from the muffin tin and decorated them with melted chocolate and pastel sprinkles!

If using sprinkles, you will need to gently press the sprinkles into the Rice Krispies in order for them to stick!

Rice Krispie Treat Baskets

I filled my eggs with an assortment of candy and to some of the bowls I added “grass”.  The grass I made by slicing the green and blue Dot Candies that I had on hand.  Any type of green jelly candy would work wonderfully.  Just slice them into thin pieces, clump a few grass blades together and add them to your baskets!

Rice Krispie Treat Baskets

This is an easy treat to send to college students, friends and family for a tasty Easter surprise!

If you want other ideas for a college student or anyone else on your Easter list, check my other posts:

Easter Egg Hunt for the College Student!

Easter Bouquet of Peeps!

Felt Easter Eggs to Fill with Treats!

I linked up to iheartnaptime!

Felt Easter Eggs to Fill with Treats!

basket-of-eggs

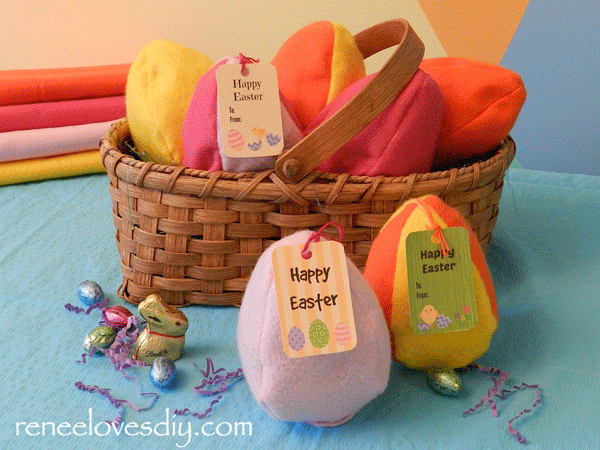
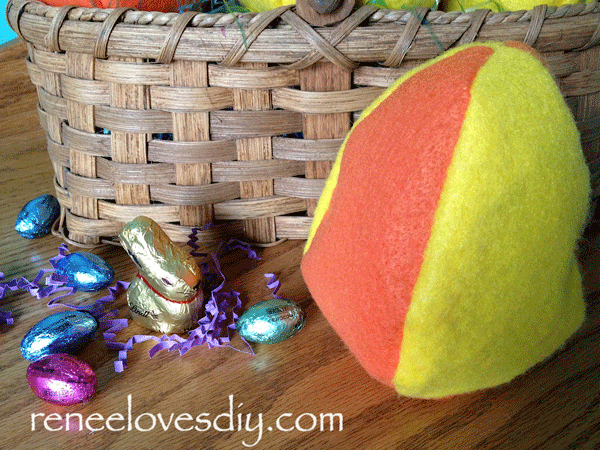
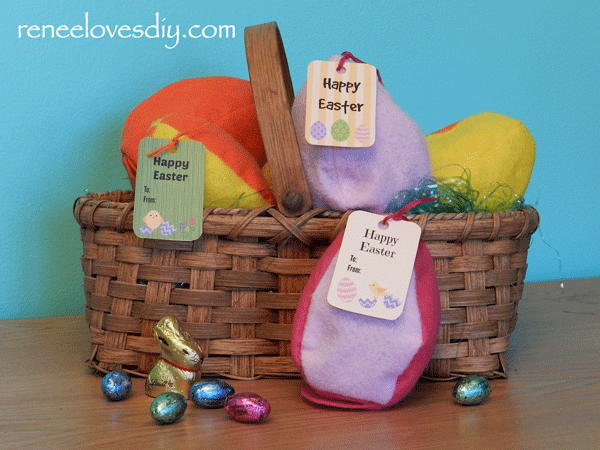
Refillable Felt Easter Eggs!  Who wouldn’t like a basket filled with these?

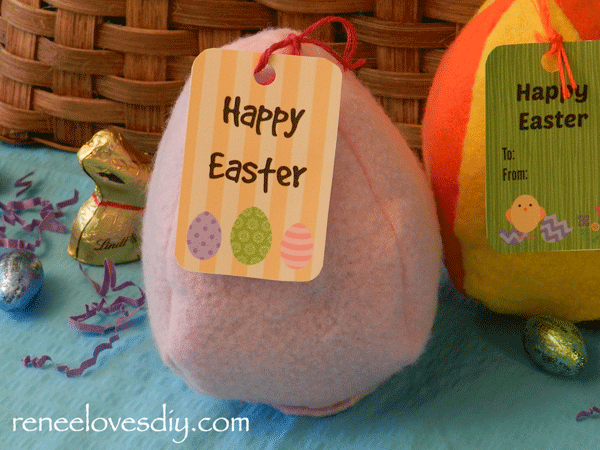
Refillable Felt Easter Eggs

I wanted to try something new this year so I came up with a way to make an egg that could be filled with goodies! The eggs are designed to take the place of Easter baskets for those occasions when Easter baskets for everyone is not practical! Times when grandma invites friends, family and neighbors to Easter or when you wish to send a little something to five college roommates!

These adorable eggs are made out of felt and have a velcro closure so the egg can be filled with Easter grass, candy, money (for the poor college student), gift cards, movie tickets… The sky is the limit!

Creating the eggs involves simply cutting 4 pieces of a single pattern piece (included in the post – of course!); sewing 3 seams; turning it right side out and attaching an adhesive velcro closure!  It is that easy, until you get to the hard part – What to fill the eggs with?

What do you need?
Felt
Adhesive Velcro Closures
Filler – Definitely Easter grass and candy! The rest is up to you!

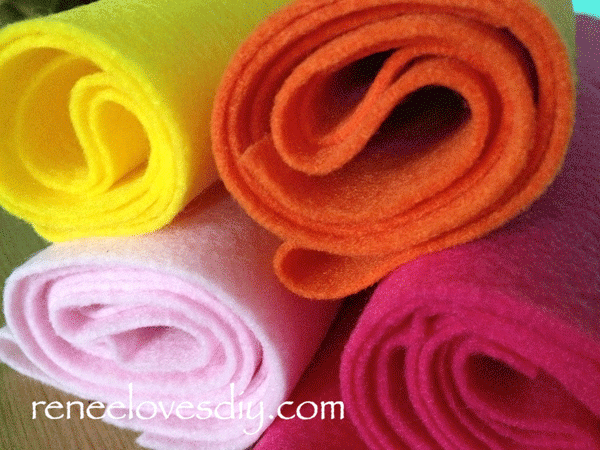
Felt for making Fabric Easter Eggs

Head over to your local fabric store and select a few pieces of your favorite felt colors. Because the pattern piece is 8″ long, a quarter of a yard is a good amount to buy.  I purchased a quarter of a yard of the above 4 colors and it cost me $4!  Felt is perfect for a project like this!  It’s inexpensive, easy to work with and comes in so many wonderful colors!

With my total felt yardage of one yard, I was able to create 18 of these 5″ eggs!

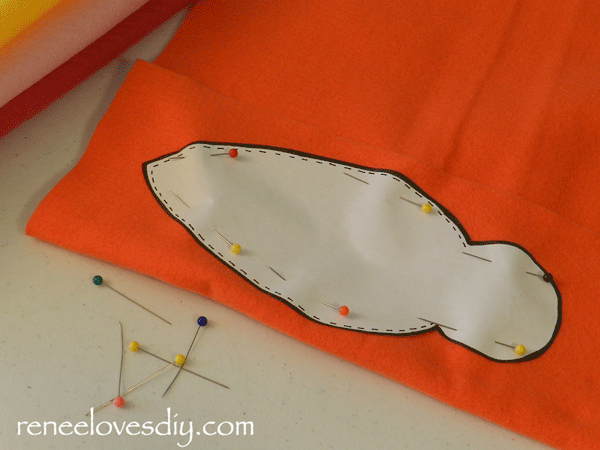
pattern

A printable pattern piece can be found here :  Egg Pattern

Each egg requires 4 pieces and I cut out two at a time because of the thickness of the felt. Any more than that and I can’t squeeze my scissors!

If you check the pictures you will see that I made some of the eggs a single color and mixed the colors on others!  Put them together however you like!

Refillable Felt Easter Eggs

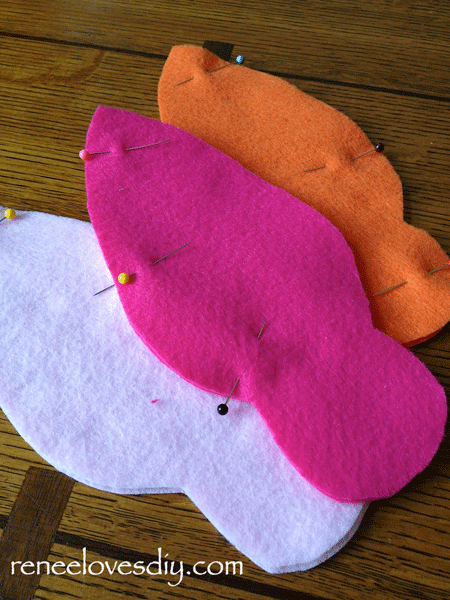
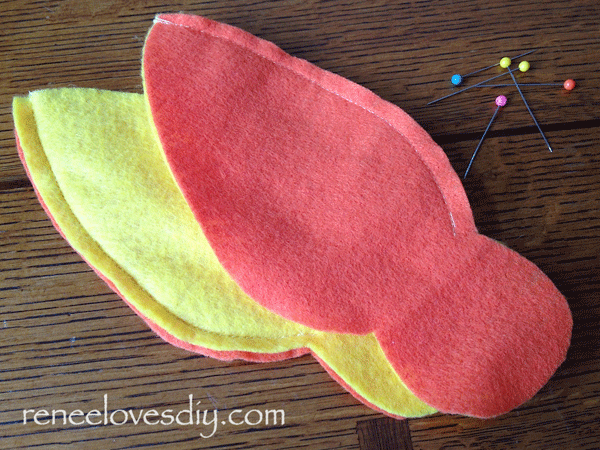
Put two pieces together and pin one of the sides.  This is the side you will be sewing first!

Felt Pieces for Fabric Easter Eggs

Sew  the two pieces together on the one side.  Sew where the dotted line on the pattern piece indicates. I used a 1/4″ seam.

To prevent your seams from unraveling, “knot” the ends of the seam by using the backstitch to overlap a few stitches! Backstitching at the beginning and end of your seam will create a strong seam that will not unravel!

Sew the other two pieces together in the same manner.

Felt Pieces for Fabric Easter Eggs

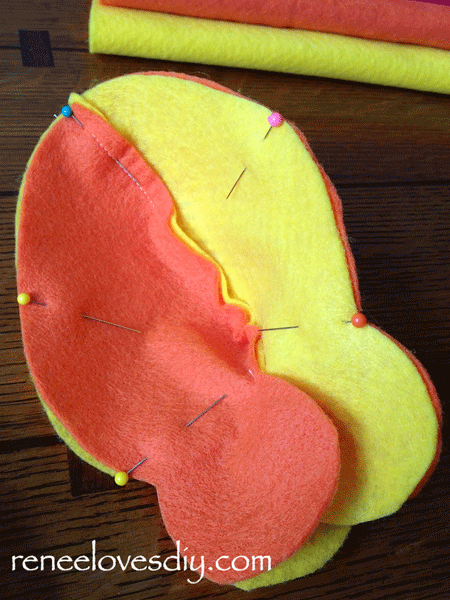
Open up the pieces you have just sewn and pin them, right sides together.  Sew around the outer edge of the egg where the dotted lines on the pattern indicate.

The rounded flaps are not sewn.  The flaps will create the closure at the bottom of the egg.

Refillable Felt Easter Eggs

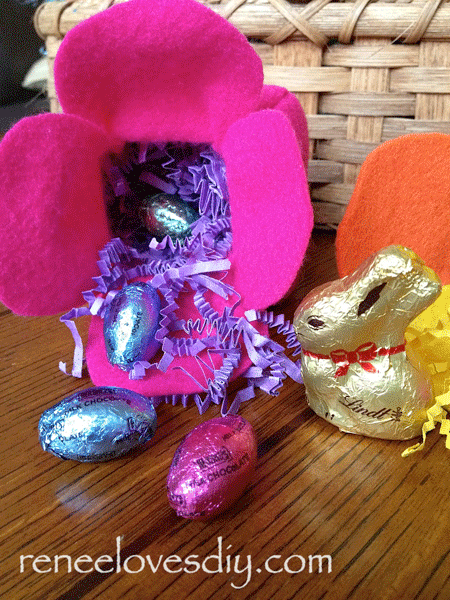
As you can see in the above picture, after you turn your egg right side out there will be 4 rounded flaps.  After filling your egg, fold two of the opposite flaps down creating a seal at the bottom of your egg!

fill-eggs

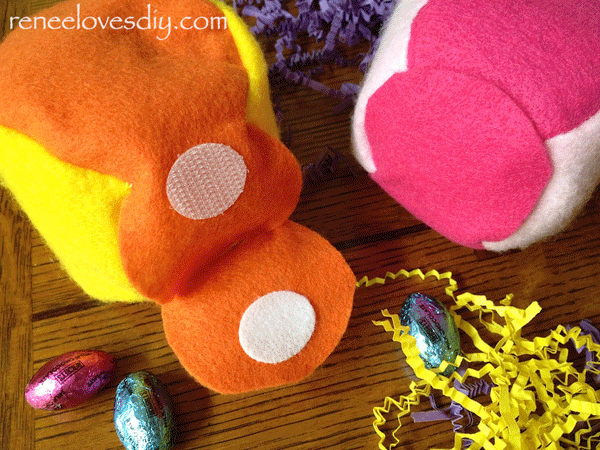
Attach the adhesive velcro closures on the last two flaps and seal up your egg!

You are almost done!

felt-egg-basket

To finish your eggs. I created fun Easter tags for you to print for free!

Using embroidery floss and a large needle, I ran a double piece of floss thru the top of my egg and used that to tie on the gift tag!

You can find free printable copies of the Easter Gift Tags here!
Click here for small tags (shown in picture) that print 9 to a page –   Easter Tags
Click here for large tags that print 3 to a page –   Large Easter Tags

If you want other ideas for a college student or anyone else on your Easter list, check my other posts:

Easter Egg Hunt for the College Student!

Easter Bouquet of Peeps!

Happy-Easter

Happy Easter Everyone!

I linked up to iheartnaptime!

Easter Bouquet

Easter Bouquet
Easter Bouquet

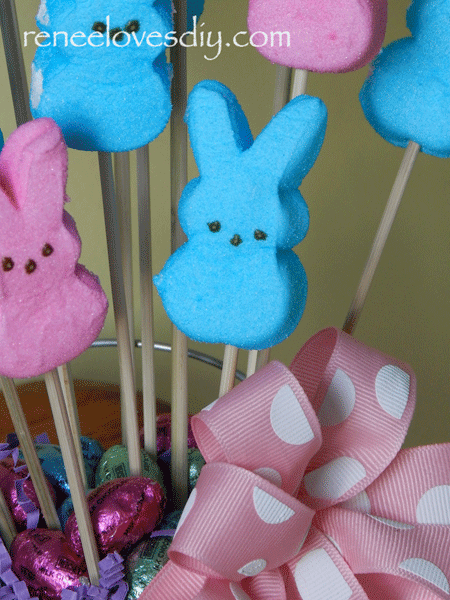
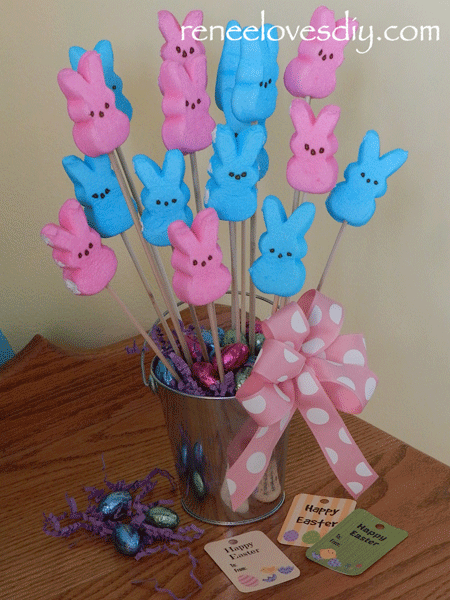
Gather your Peeps because it’s time to make Easter Bouquets!

Adults will love the Peeps Bouquet  because it is so darn cute; college students will love it because they love anything from home; kids will love it because they love Easter Candy!

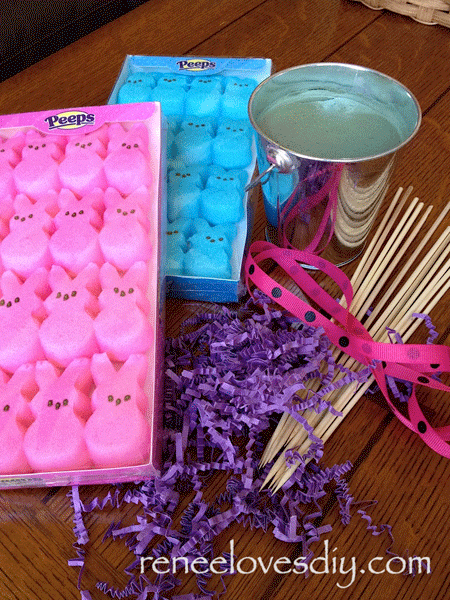
What do you need?
Peeps
A Container Filled with Foam
Bamboo Sticks
Ribbon
Easter Grass

Easter Bouquet
Easter Bouquet

The container I used came from Target.  If you look in the “dollar” section of Target, you should find seasonal containers that will work perfectly and will only cost you $1!

Fill your container with floral foam except for the top inch.  Leave that for Easter grass and candy filler! I used wrapped chocolate eggs as my filler!

Buy Peeps of any color!  Today you can find them in lots of fun colors – pick your favorites!

Skewer the Peeps with your bamboo sticks and arrange them in your foam filled container. I broke off the ends of some of the sticks to get a nice variation in heights!  Fill in around the sticks with Easter grass and add additional candy if you like!

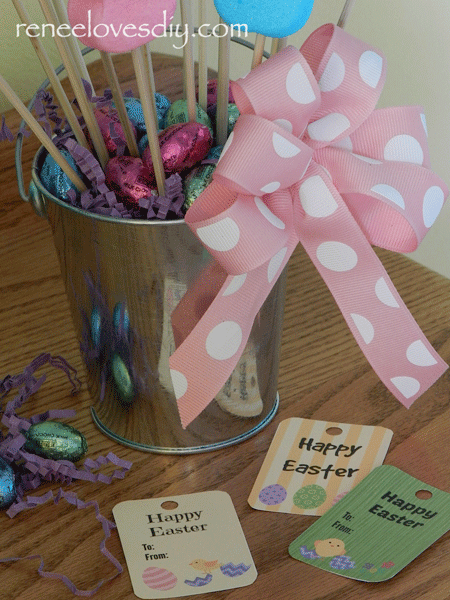
Bow for the Easter Bouquet Gift

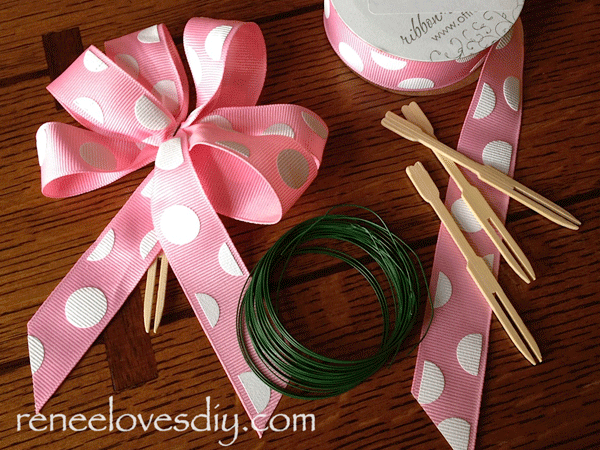
Attach your bow to a bamboo fork with floral wire!  The fork makes it easy to attach your beautiful bow to the Easter Bouquet!

Easter Bouquet
Easter Bouquet

How fun and easy was that?

Easter Bouquet
Easter Bouquet

Need Easter tags for your Easter Bouquet or any Easter gift?

You can find free printable copies of the Easter Gift Tags here!
Click here for small tags that print 9 to a page –   Easter Tags
Click here for large tags that print 3 to a page –   Large Easter Tags

If you want another idea for the college student, check my post:
Easter Egg Hunt for the College Student!

A Gift for the Cook in Your Life!

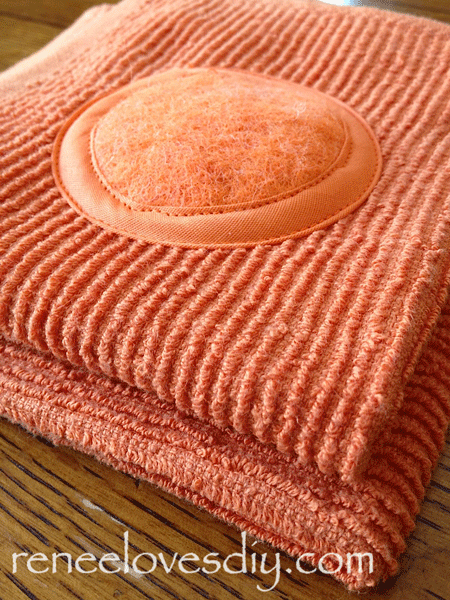
Some of the most important people in our lives are the ones that prepare fabulous food for us to eat!  Here is a simple DIY for a scrubby kitchen cloth that anyone who washes dishes will love! These cloths are wonderful for scrubbing pots and pans, but the best part is that they are machine washable!  So go make a bunch and say Thank You to all the wonderful cooks in your life!

KitchenScrubby
DIY Kitchen Cloth Scrubby

What do you need?
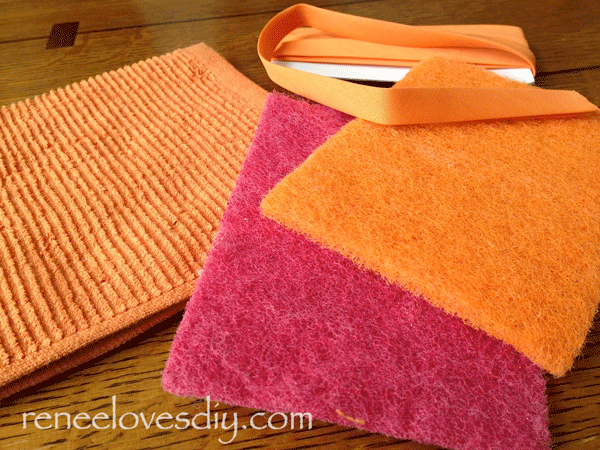
Scouring Pads
Kitchen Cloths
Bias Tape

Making a scrubby kitchen cloth!

The scouring pads are a bit stiff to sew, but if you rinse them out a few times they will soften a little bit!

Sewing the Scrubby
Sewing the Scrubby

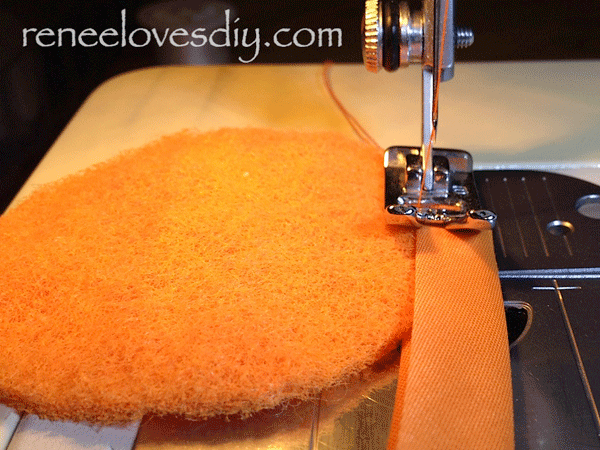
I cut my scouring pads into 2 & 1/2  inch circles and sewed bias tape around the edges. Make sure you use a heavy duty needle and sew slowly!

Sewing the Scubby
Sewing the Scrubby

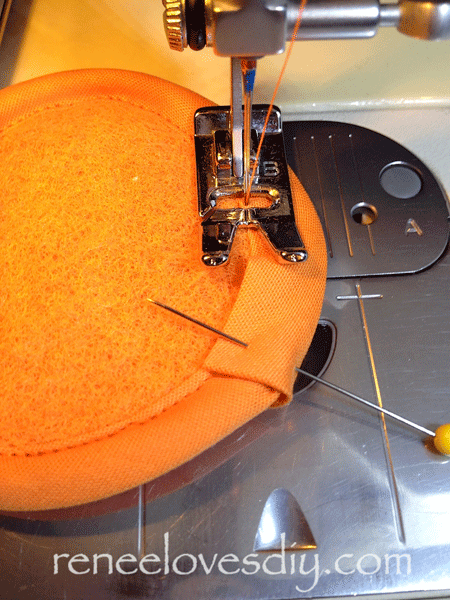
When you get close to overlapping your bias tape, cut the tape so there is one inch of overlap.  Fold the end of the bias tape under 1/4″ and pin into place as the picture above shows! Finish sewing!

Scrubby Kitchen Cloth

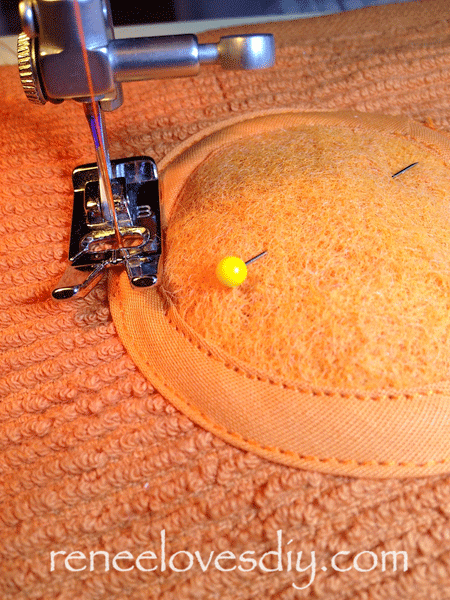
Last step – Pin your bias tape trimmed scouring pad onto a kitchen cloth.  I pinned mine 1.5″ from both edges of one of the corners.  Sew the outer edge so the scouring pad is now attached to the kitchen cloth!

Voila – A Scrubby Kitchen Cloth!

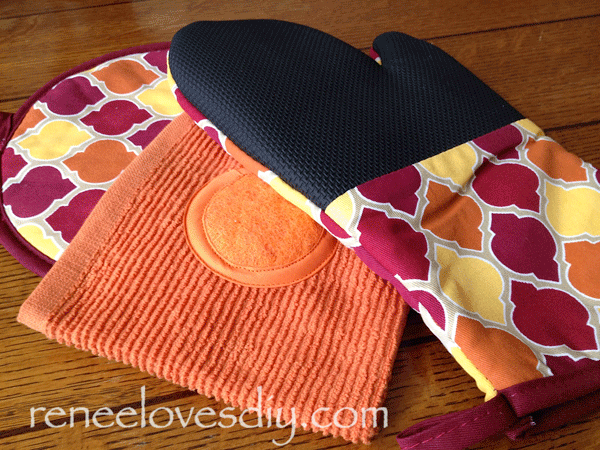
Finish off your gift with some fabulous hot pads!

A kitchen gift for your favorite cook!

The hot pads shown here have a neoprene face that provides great grip and insulation.  I own a few of these and they are wonderful!  My one word of caution is – follow the washing instructions! That sounds easy enough, but how many of us do it?

I threw one of mine in the washing machine & dryer which resulted in a small tear in the neoprene layer.  It is now essentially useless!  Just follow the instructions  –  hand wash ONLY and they will be a wonderful addition to anyone’s kitchen!

Have fun making and using your Kitchen Cloth Scrubby!
Now everyone is going to want to do the dishes!


Wishes for the New Year!

candle13

Need a simple, yet personal gift for the New Year!  Well, I have one for you!  Gather your candles to create our New Year’s Wish Candle!

Recently, my daughter and I were visiting friends and we wanted to present them with a gift for the new year!  We decided on labeling a candle with a wish for each member of the family with the idea that burning the candle then makes the wishes come true!

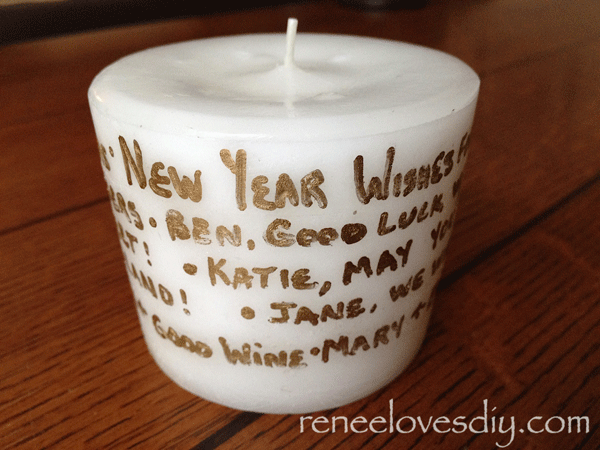
The wishes for this favorite family ranged from good luck on a college search to may you have many wonderful bottles of wine.  Yes – those wishes were for different members of the family!

What do you need?
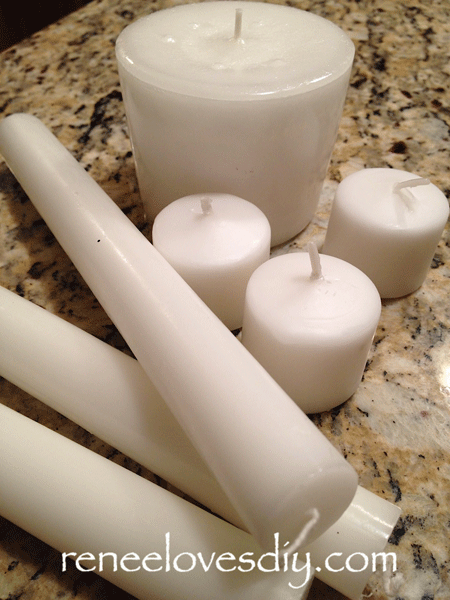
Candles
Paint Marker
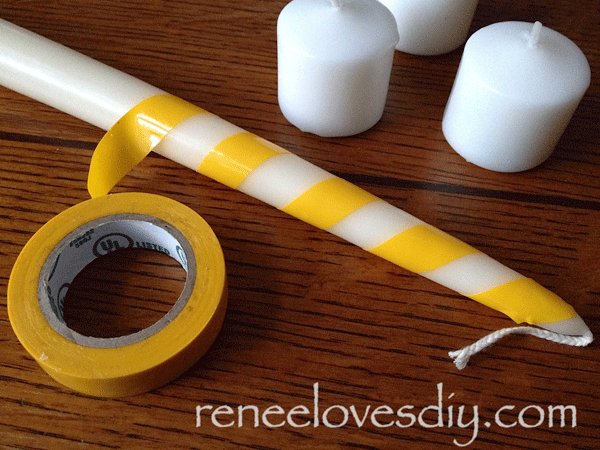
Tape – to keep things straight!

Candle of Wishes for the New Year!

Any candle will work for this project!

If you need a guide to keep things straight,  apply tape before writing on the candles! Electrical tape works well because it is narrow and can be stretched!  Also, it is sticky, but not too sticky.

candle4

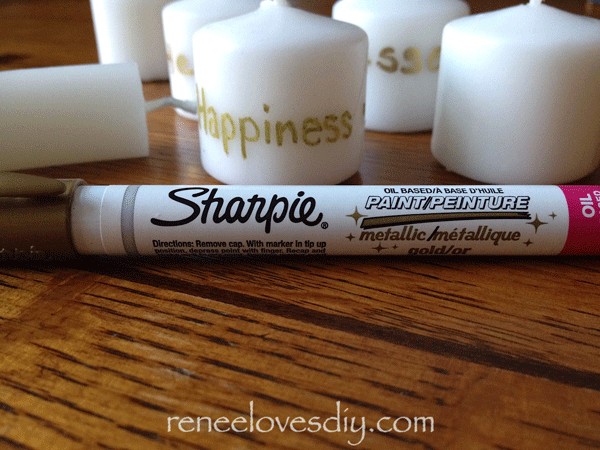
I purchased a metallic Sharpie brand paint pen.  The Oil formula worked very well on the candles.  Occasionally, I found it necessary to write on plain paper to remove any wax that accumulated on the tip of the marker!

candle2

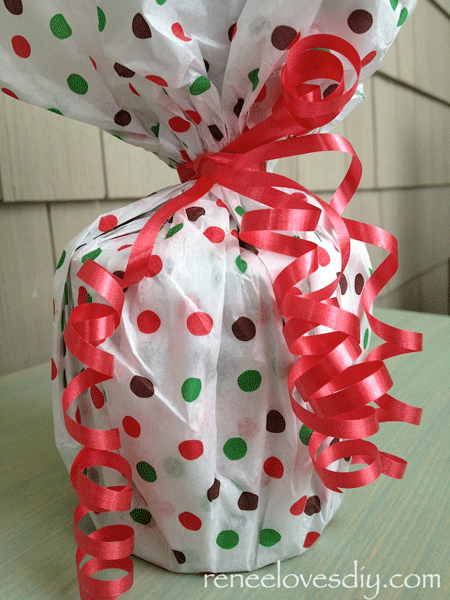
Here is the candle we made for our friends with their personalized wishes.  The candle was originally in a jar, but it was easily removed by freezing the candle.  As the candle freezes, it shrinks and will simply pop out of its jar.  After we had written on the candle, we returned it to its jar, wrapped it in beautiful tissue paper and we had a wonderful New Year’s gift!

Now go make one of your own!

candle11


Wine Bottle Gift Bag

bag17

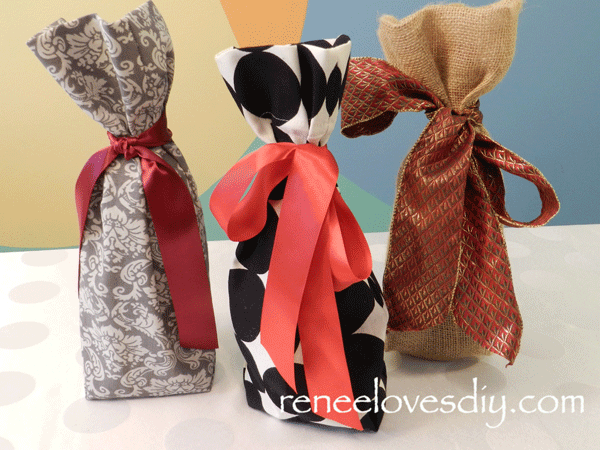
If you enjoy a wonderful glass of wine then you are probably like me and delight in giving your favorite bottles as gifts!  Since we all like our gifts to be beautifully wrapped,  what better way to present a bottle of wine than to wrap it in a lovely wine bag!  This post also includes free printable wine gift tags!

Wine bottle gift bags are incredibly easy to make and for those of you who claim to be “non-sewers” this is the perfect project for you to begin your sewing adventure!

What do you need!

1 yard of a medium weight woven fabric – Decorator fabrics are my fabric of choice!
One yard will make 5 wine bags!

Courage!  Yes – You can do this!

Here is a how-to video for making wine bags! This is the easiest way to learn how to create this fun  and easy project!


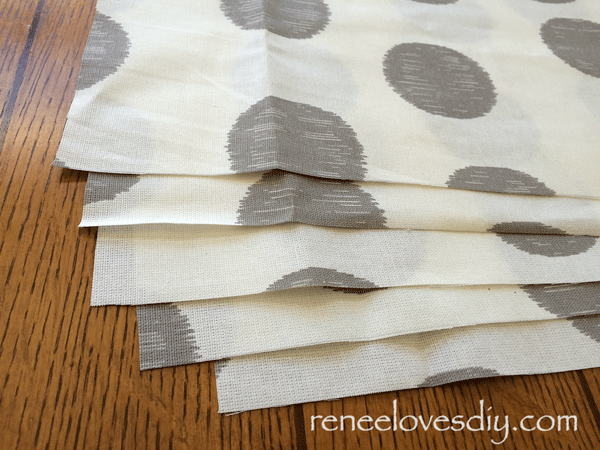
Step One – Lay out your 1 yard of fabric and cut 8.5″ strips lengthwise.  If your fabric is at least 44″ wide, you will be able to cut 5 strips of fabric that are 8.5″ wide and 36″ long from one yard of fabric.

wine1

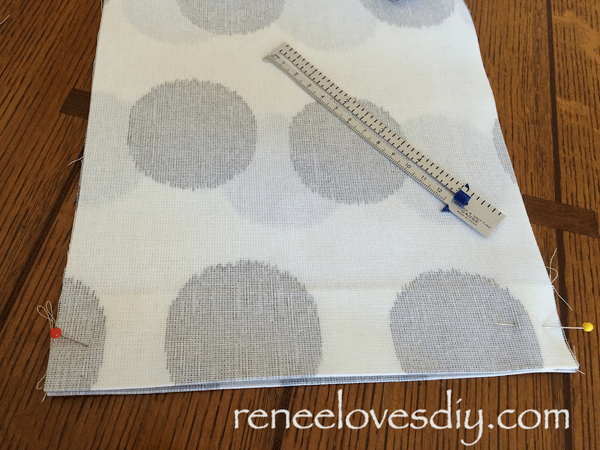
Step Two – Taking one of your strips of fabric, fold it in half with the right sides together.

In sewing terms :  Right side = printed side.

Pin along the long edges and mark the bottom fold with a pin.

bag4

Now we are going to create a pleat at the bottom fold to create a nice “boxed” bottom to our bag.

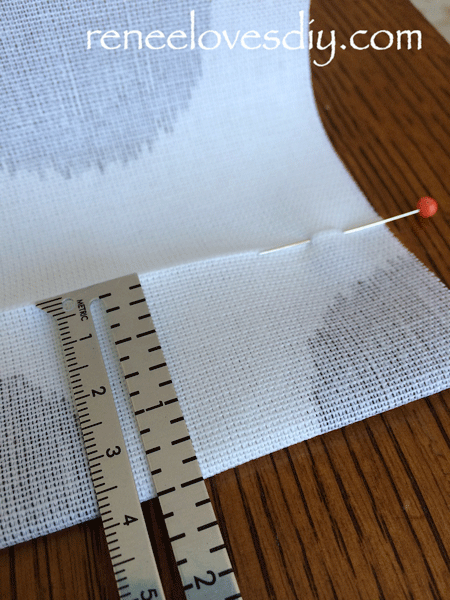
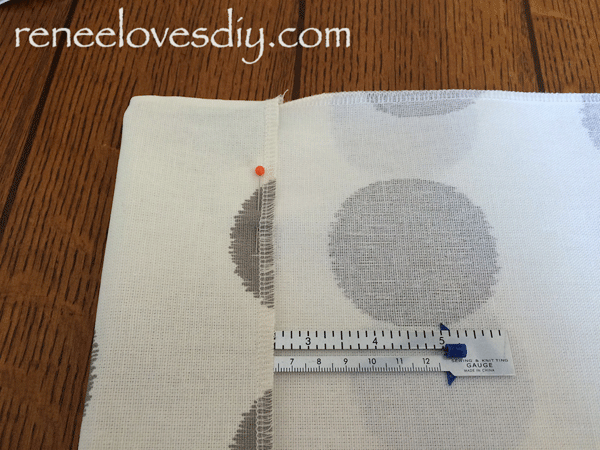
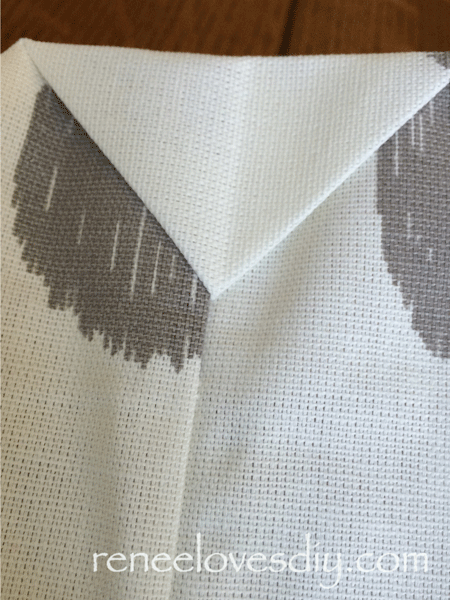
Step Three – Using your bottom fold pin as a marker, measure 1.5″ and create a new bottom fold. Remove the pin that originally marked the bottom and replace it in the same spot catching both layers of fabric.  Do this on both sides of the bottom fold.

bag5

Now you will notice extra fabric on your top layer, just flatten this out and you will see how easily the pleat is formed at the bottom fold.  Remove the bottom fold pin again and re-pin it so it now goes through all 4 layers of fabric.

bag6

On the other side, do the same thing – Remove the bottom fold pin and re-pin it so it goes through all 4 layers of fabric.

bag7

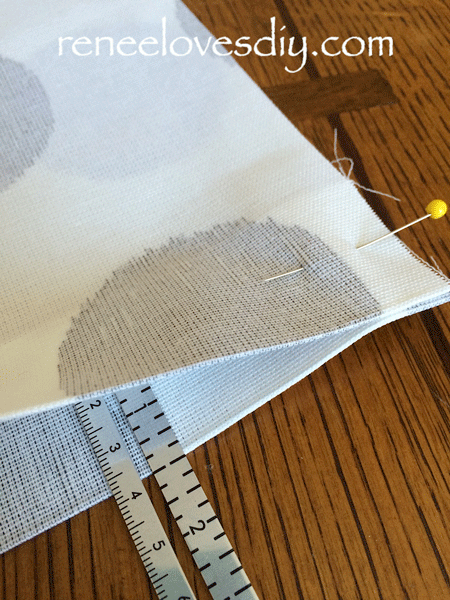
Step Four – You are now ready to sew your bag!  Stitch 5/8″ seam on each of the long ends making sure to use a few back stitches at the start and end of your seams so your stitching will not unravel.  At the top opening, finish the fabric edge with a zig-zag stitch to prevent it from fraying.

I am fortunate enough to have a serger therefore, I used that to sew my seams and finish the top edge of my bag.  This is not necessary!

bag8

Time to create a hem at the bag opening.

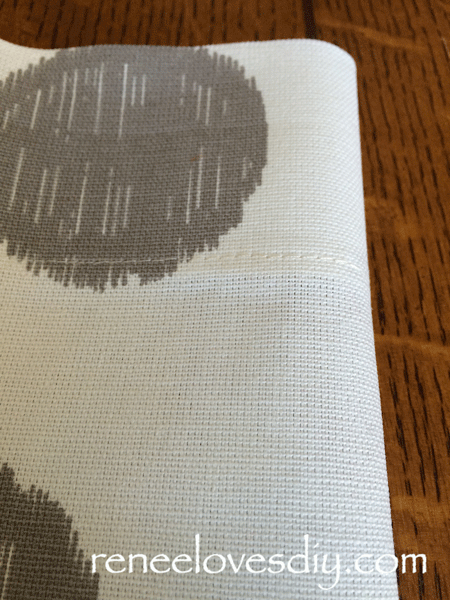
Step Five – Fold the top opening of your bag over 2.5″ and pin it in place.  Stitch the fold in place using a straight stitch 3/8″ from the edge.

gab3

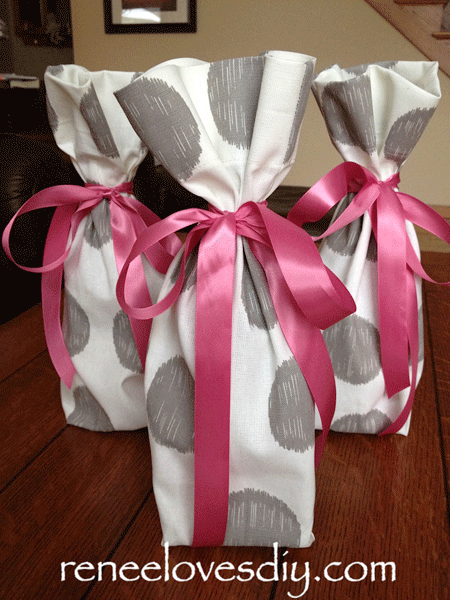
Turn your bag right side out and Voila! – A Beautiful Wine Bag!

bag3

I do iron the bottom box pleat on the bags.  It is not necessary, but it does finish it off nicely!

bag15

Now go take an adventure to your local fabric store and find a beautiful fabric to create these wonderful bags!  Don’t forget the ribbon to tie your bag with!

A ribbon with a bow will require 42″ of ribbon and a ribbon with just a knot needs only 24″.

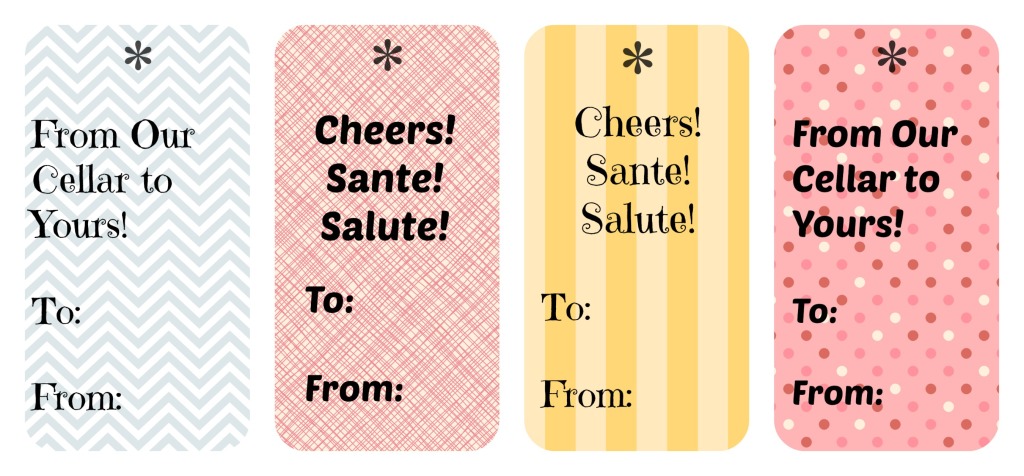
For additional fun, include an adorable wine tag with your gift – they are free!
Click here to print –  Wine Tags!WineTags3

bag10


The Elf Movie Christmas Gift!

The Elf Movie Christmas Gift

Here is a last minute gift for you!

Have someone on your list who could use a “Happy” gift; a gift that will bring a smile to the grouchiest of  grinches!
I have one for you!
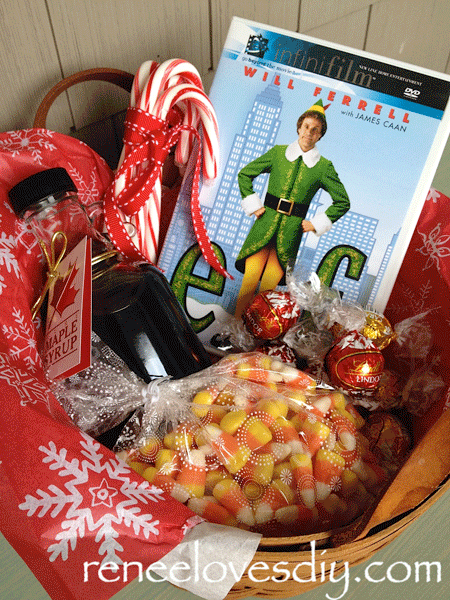
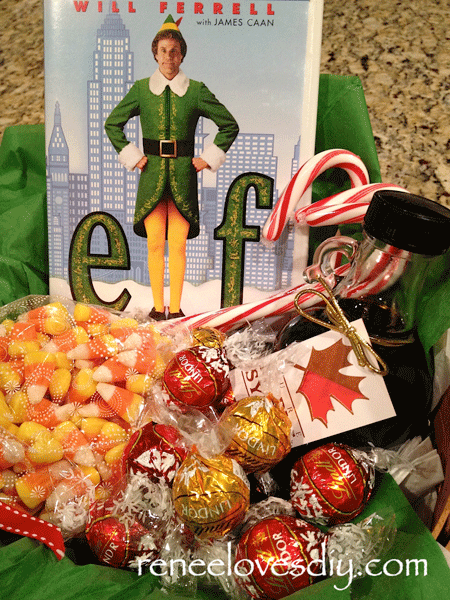
An Elf movie basket with free printable gift tags!

In our household, the go to happy movie is Elf! It doesn’t matter what time of the year it is,  watching the movie Elf is guaranteed to put a smile on your face!

If you have never seen it, you really must watch it sometime!  The movie stars Will Ferrell as Elf, it has a delightful message, wonderful characters and is fun, fun, fun!  The movie also stars Zooey Deschanel (you get to hear her fabulous voice) James Caan and Bob Newhart, need I say more?

I am not one to watch movies repeatedly, but this one I have seen too many times to count!

What do you need?
An Elf Movie
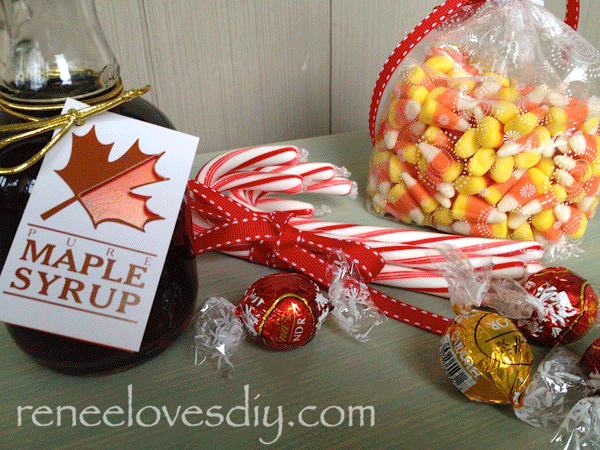
The four main food groups for Elves – candy, candy canes, candy corn, & syrup

Give a Happy Christmas Gift - The Elf Movie!
Give a Happy Christmas Gift – The Elf Movie!

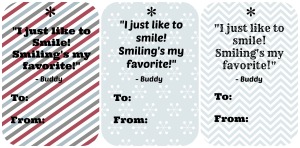
Don’t forget to include my favorite Elf quote -“I just like to smile.  Smilings my favorite!”

Here are printable Elf Gift Tags!

Gift Tags for an Elf Gift Basket

So bring a smile to someone special in your life with an Elf Christmas Basket!

The Elf Movie Christmas Gift


Coffee Shop Gift Card

Do you have someone on your list who always needs a caffeine fix?

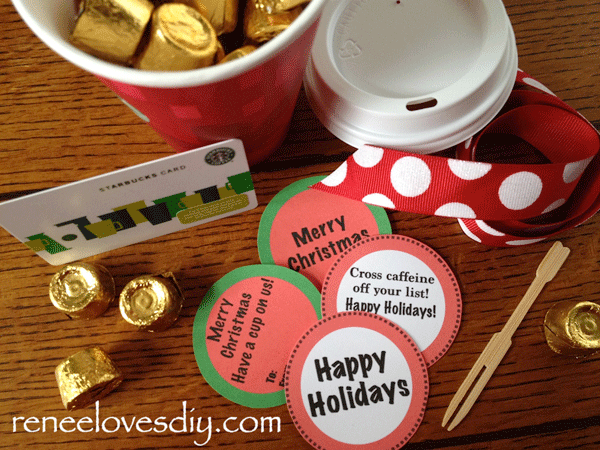
Here is a easy way to take a simple coffee shop gift card and turn it in to a delightful gift to give and receive!

Make a coffee shop gift card a fun gift to give!

What do you need?
Gift Card from a favorite coffee shop!
Paper Coffee Cup , Lid & Splash Stick
Filler for the coffee cup – Candy would be my filler of choice!

The Coffee Shop Gift Card gets Wrapped!

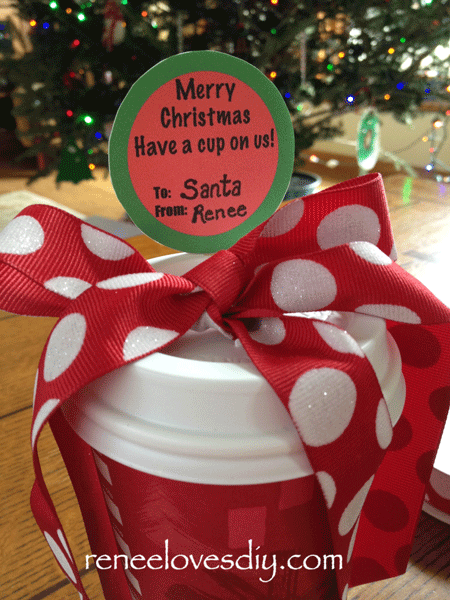
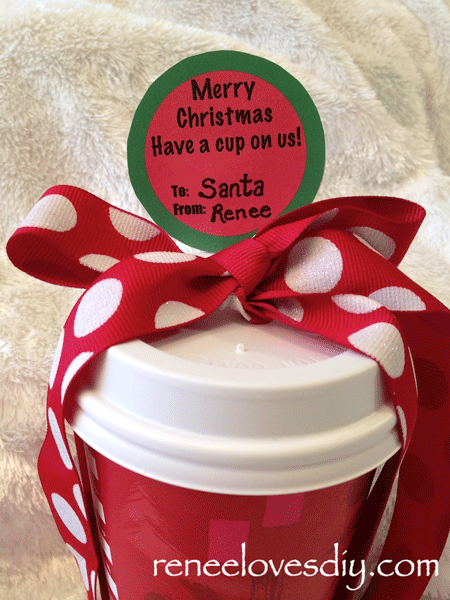
Fill your cup with the gift card and candy.   Tie on a beautiful ribbon!

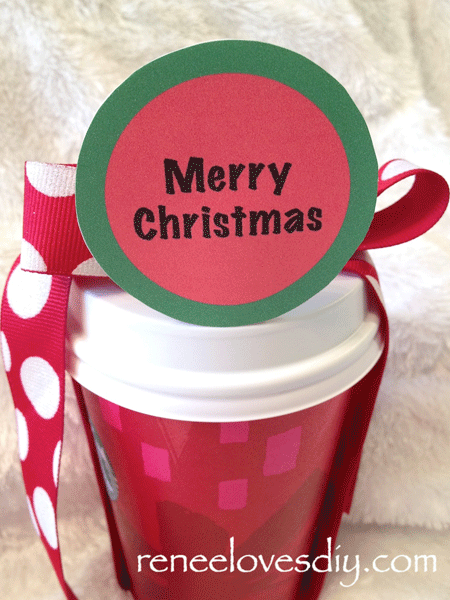
Attach a coffee gift tag to the front and back of the splash stick.
If you are unable to get the splash stick, a bamboo fork will work just as well!
You now have a gift is beautiful, cheerful and a delight to receive!
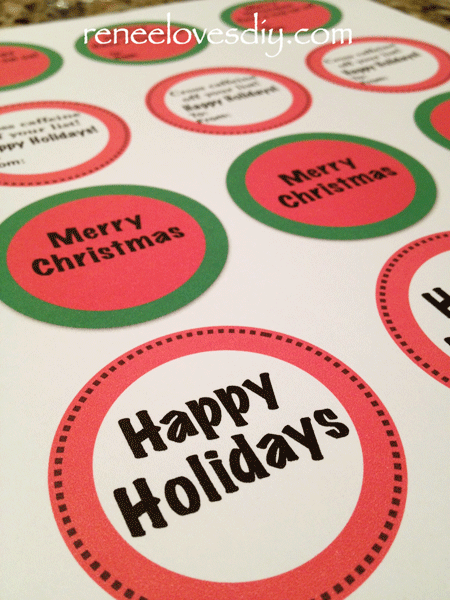
The cup is the wrapping, the treat is for fun and the gift tags are available for you to print – Coffee Gift Tags!  How easy was that?

Coffee Card Gift Tags

All the coffee drinkers on your list will love this!

Wrapping the Coffee Shop Gift Card
The back of the gift tag!
I linked up to iheartnaptime!

Gift Card for the Naughty & Nice!

Here is an entertaining  way to turn any gift card into a fun gift!

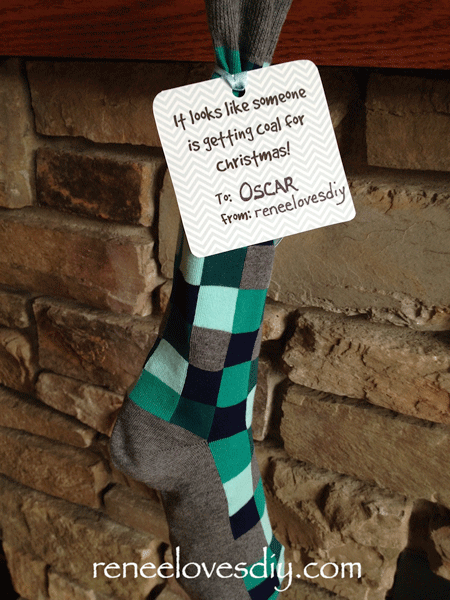
It looks like someone is getting coal for Christmas!

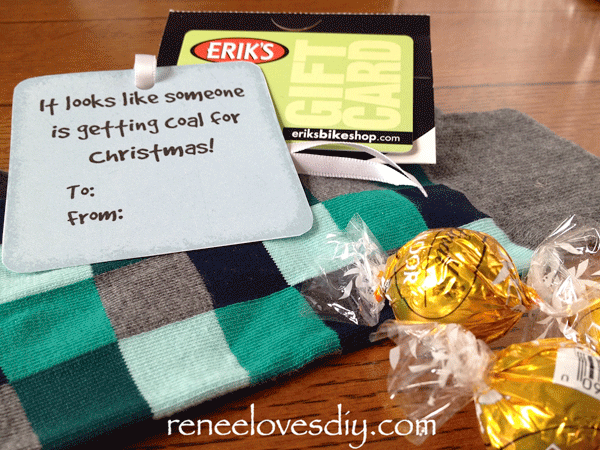
For that naughty person on your list, make it look like they are getting nothing but  coal and a sock for Christmas this year! (A house elf is the only one who might think this is a good thing!)

What do you need?
Crazy pair of socks
Wrapped truffles or some kind of wrapped round candy.  Something coal like!
Gift Card

It looks like someone is getting coal for Christmas!

Inside one of the stockings, stuff the other sock, the gift card and lots of truffles so it looks like it’s filled with lumpy coal.  Tie up the end with a ribbon, add a “coal” gift tag and voila!  A sock filled with “coal” that will please everyone, whether they have been naughty or nice!

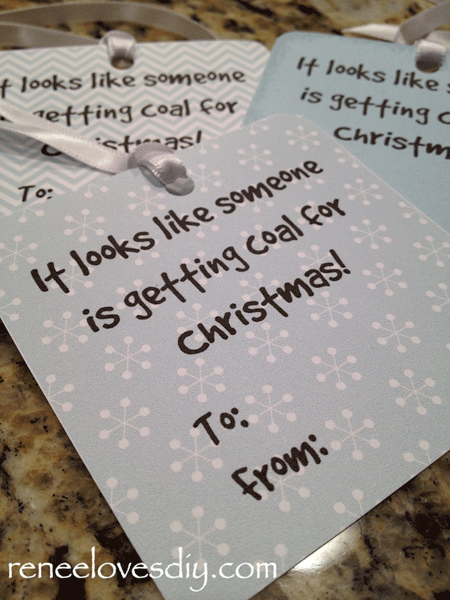
It looks like someone is getting coal for Christmas gift tags!

Get your free printable “It looks like someone is getting coal for Christmas” gift tags here!  Remember to print in landscape!

Happy Holidays!