Create a photo gallery that can be hung anywhere!
My daughter received one of these as a gift when she graduated from high school and she used it in her dorm and every apartment since for displaying photos.
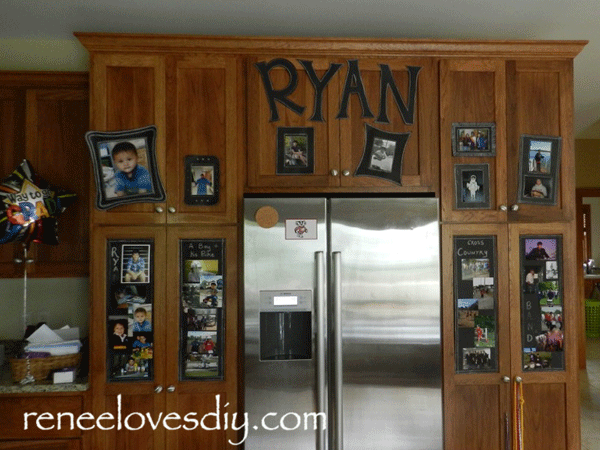
The great thing about this photo gallery, besides being adorable, is that it is wonderful for anyone with limited space for framed photos! College students, apartment dwellers, and our dearest teenagers will love this clothesline gallery for hanging their favorite photos of their friends, pets and family, especially those special photos of mom!
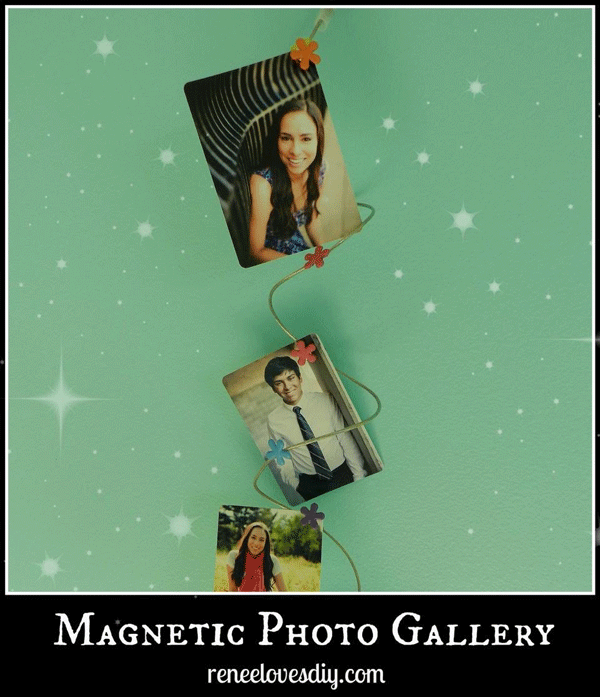
In this post, I demonstrate two ways to make the photo clothesline gallery. One uses mini-clothespins and the other uses decorative brads and magnets!
What do you need?
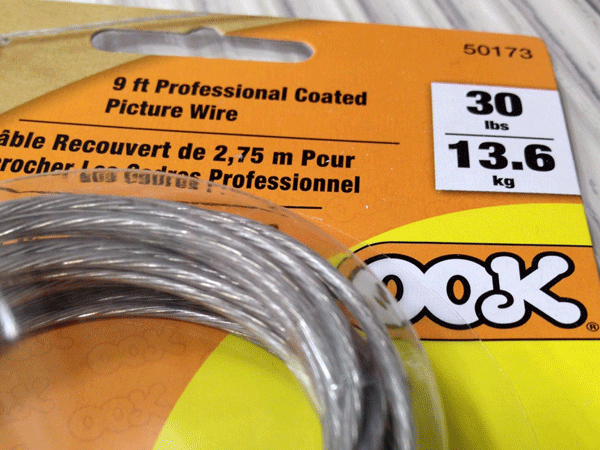
Picture Wire
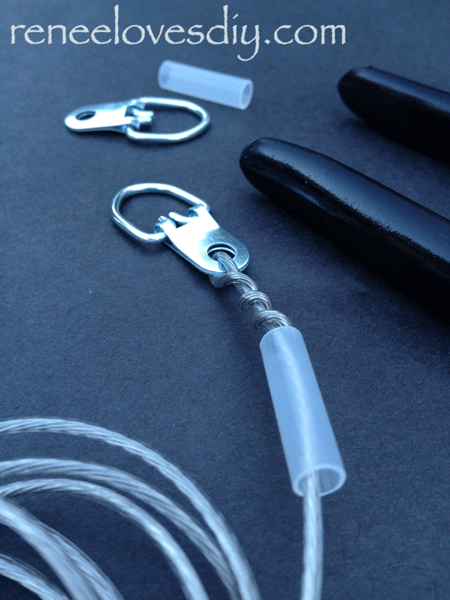
D-ring Frame Hangers
Glow Stick Connectors
Mini-Clothespins
or
Decorative Brads and Mini-magnets
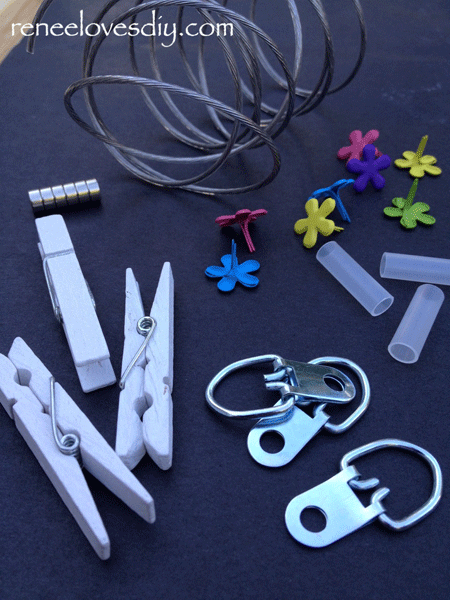
First things first – you need a good quality picture wire. This is a 30 pound coated wire. No – you will not have 30 pounds of pictures, but the wire is a nice thickness for hanging pictures on and it is very easy to bend and twist. We consulted with a professional picture framer on this one and she was right, it works perfectly!
The wire came in a 9 foot length, which was longer than we wanted so we used half of it!
Creating the hooks at the ends for hanging the clothesline, was very simple.
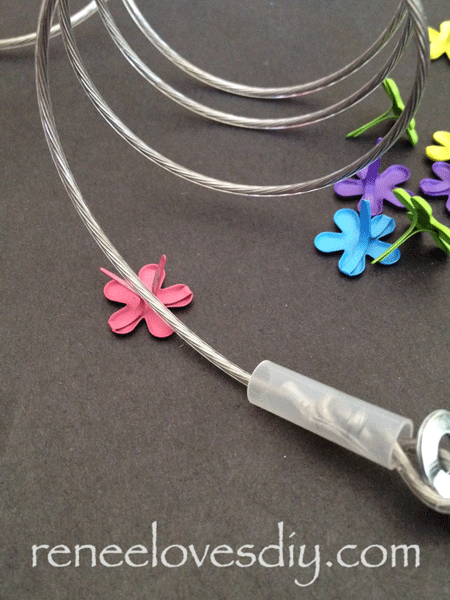
To one end of the wire, slide on a glow-stick connector. It’s the small plastic tube you see in the picture that would normally be used to connect two glow-sticks together. The connectors work perfectly for covering the twisted wire and finishing off the looped ends.
Bend the wire 1.5″ from it’s end and slide the hole of a D-ring frame hanger into the bend in the wire. Wrap the short end of the wire around to keep the D-ring in place. Slide the glow-stick connector over the twisted wire and that’s it! Do the same thing to the other side so you can hang the wire like a clothesline!
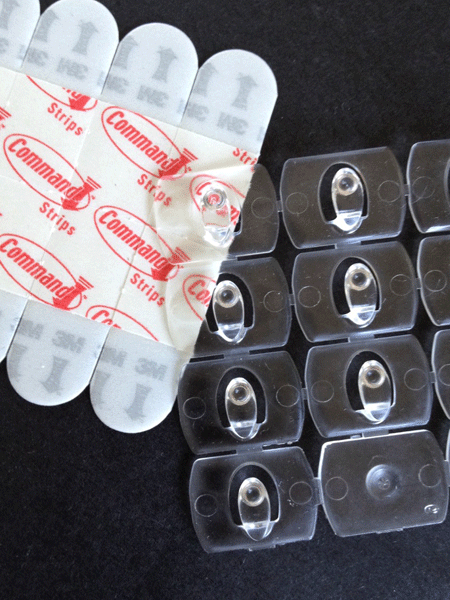
When gifting a Clothesline Photo Gallery, I always include a package of command hooks so the gift can be hung immediately!
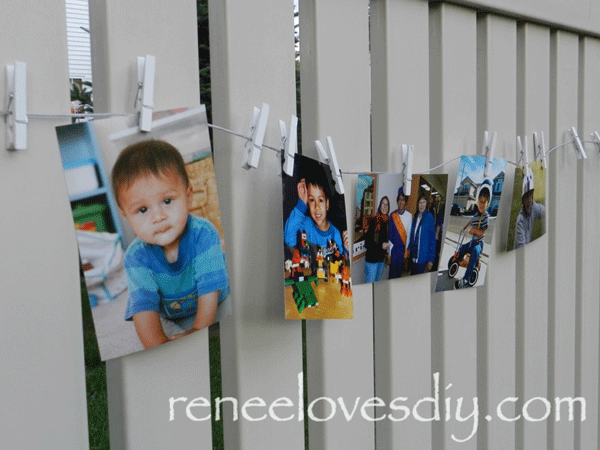
If you choose to hang your photos with clothespins, it is easy to find them. At Michael’s we found them in all colors and designs. We selected the small white clothespins in order to personalize them!
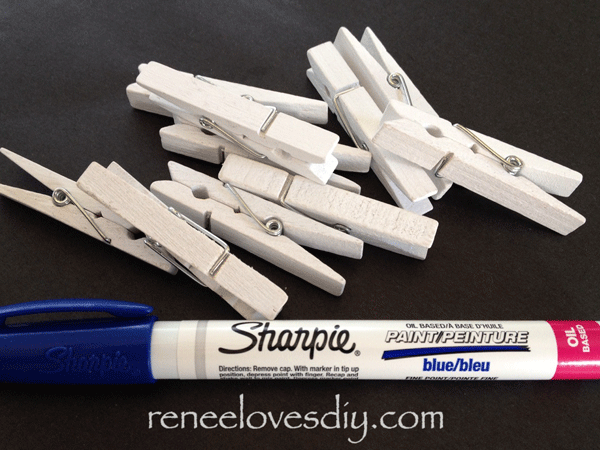
Here are the clothespins my son decorated for a friend of his! The Sharpie worked fabulously for this project. It is easy to use and permanent!

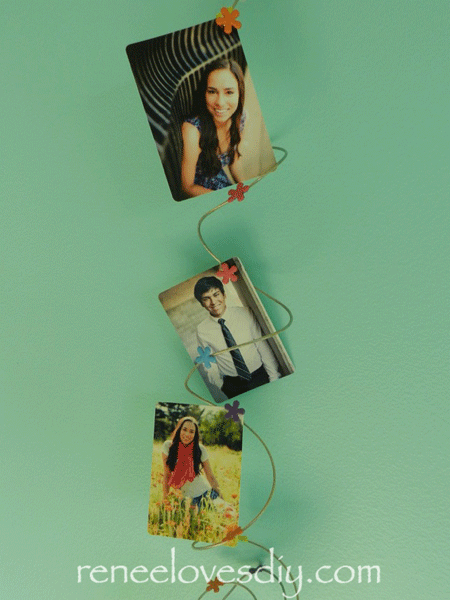
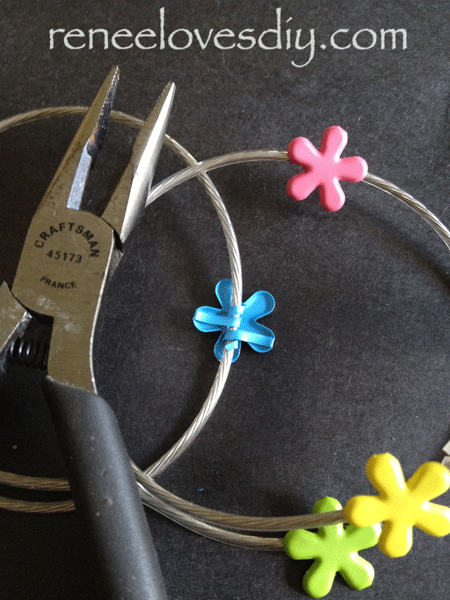
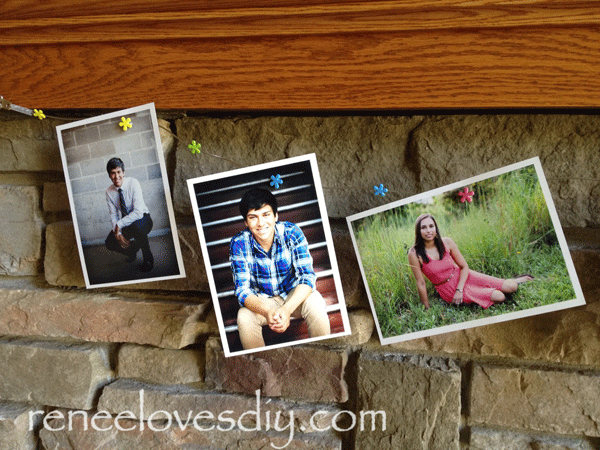
If you decide you want your photo clothesline to have magnetic clasps to hang the pictures, find decorative brads. Again at Michael’s or any craft store you will find tons of brads to choose from. I selected my favorite from the larger brads since the brad needs to be substantial enough for a magnet to stick to and to hold a picture!
Open up the prongs of the brad and with a needle nose pliers, twist the ends around the wire. The prongs are easy to bend and the pliers allows you to pull the prongs tightly around the wire so the brad will stay in place.
Attach as many brads as you like. Not all of them need to have magnets attached to them. Attaching additional brads allows a few more options for hanging pictures!
After you have finished attaching the brads, you will need to make your magnetic clasp.
I purchased Neodymium Magnets at Michael’s again! The magnets are very strong and 0.25″ in diameter! They were perfect for this project!
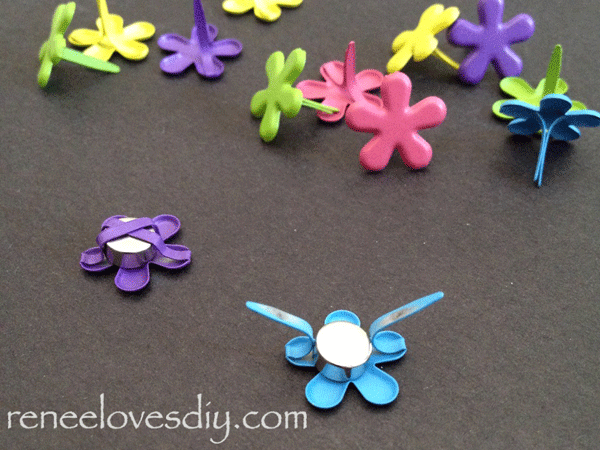
Open up the prongs on the back of a brad, align the magnet in the center back and wrap the prongs around the magnet!
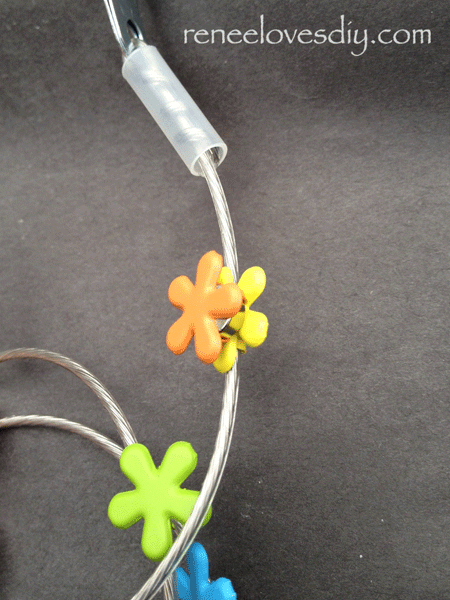
The magnetic clasp created is strong enough to hold photos between it’s self and the brads you have attached to your wire!
You are now ready to hang your photos!
This is a great gift to make for high school graduates heading off to college this fall!