I am so excited by my latest discovery – How to make Almond Butter!
Our house is a peanut free zone therefore, NO Peanut Butter! I love peanut butter so to compensate for its loss I have tried every type of nut butter I can find. My favorite is almond butter, but even that can be disappointing!
I don’t know how many times I have opened a new jar of almond butter only to find it was beginning to go rancid. The use by date says it should be good, but the flavor says something else.
So good bye commercially prepared almond butter! These days I am making my own!
To prepare the almond butter, I use my newest love – the NUTRiBULLET! I love how easy it is to use and clean.
Oh yeah – it makes great smoothies too, but that is for another post!
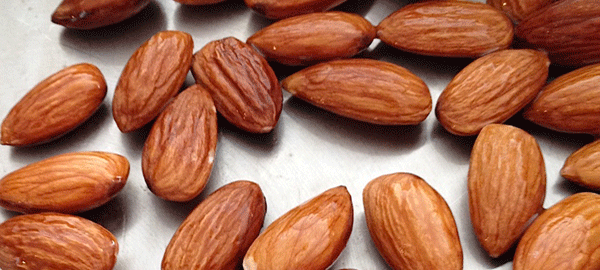
The almonds I purchase are from Blue Diamond! They are peanut-free and so far these are the only peanut free nuts I have found! Thank you Blue Diamond!
Almond Butter Recipe
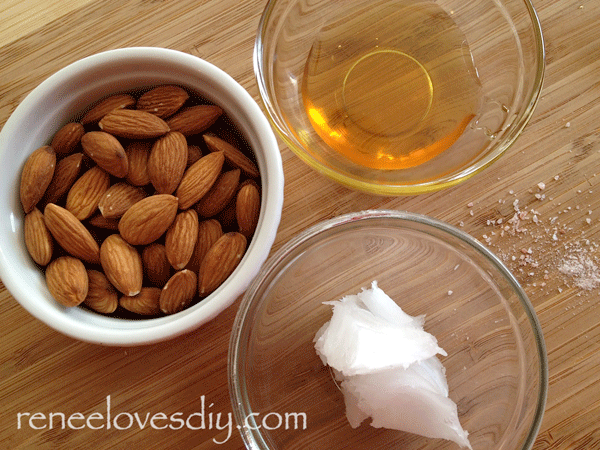
1/2 cup almonds (I use Blue Diamonds Whole Natural Almonds – they are raw!)
3/4 tsp coconut oil
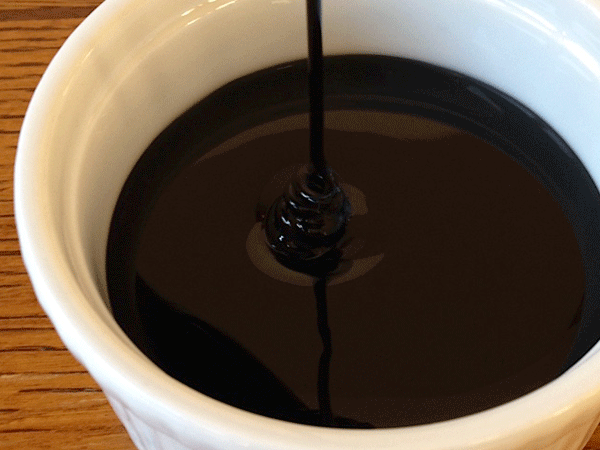
1/2 tsp honey
Dash of salt
Let’s get started!
Grease a frying pan with a small amount of coconut oil and warm over medium heat. Toss in the almonds and stir gently until the almonds become fragrant and begin to toast!
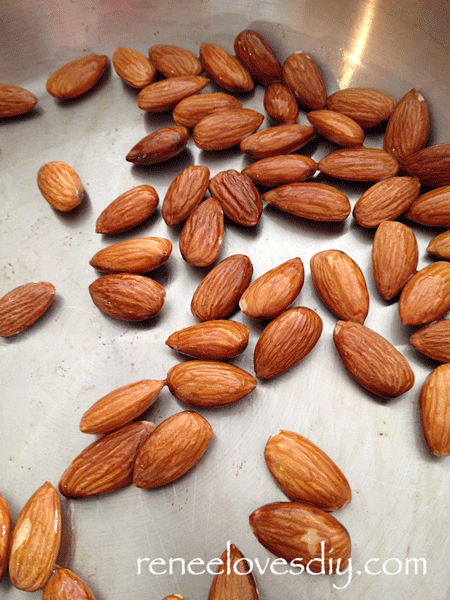
Remove the almonds from the pan and cool until just warm.
If your almonds cool completely, warm them in the pan again. Warm almonds is the key to making almond butter quickly. You do not want to burn out your blending device so make sure the almonds are warm. Also, be sure that the blending appliance you use is powerful enough to grind almonds!
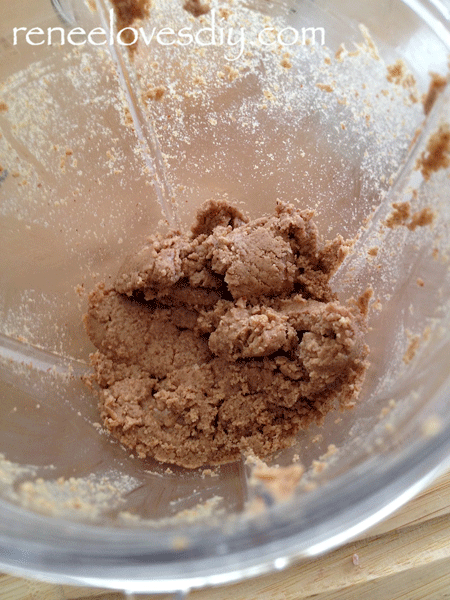
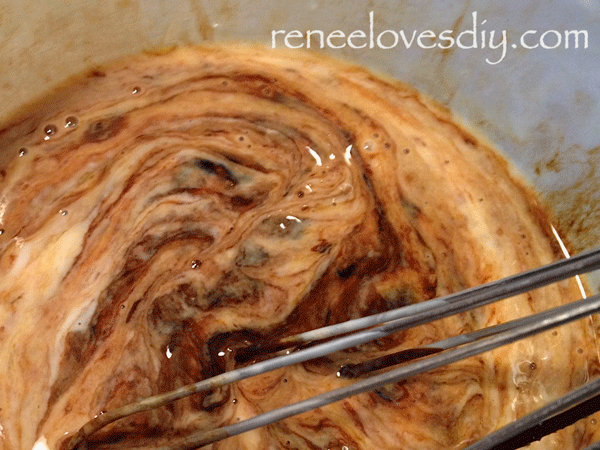
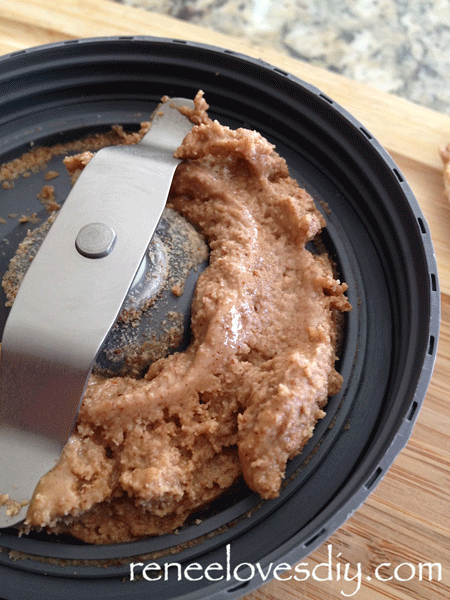
I toss my warm almonds into my NUTRiBULLET! After blending for 10-20 seconds, I shake the bullet so all the almond pieces drop down to the blade area and blend again for 15-20 seconds. After 5-6 blending cycles, I end up with almond butter.
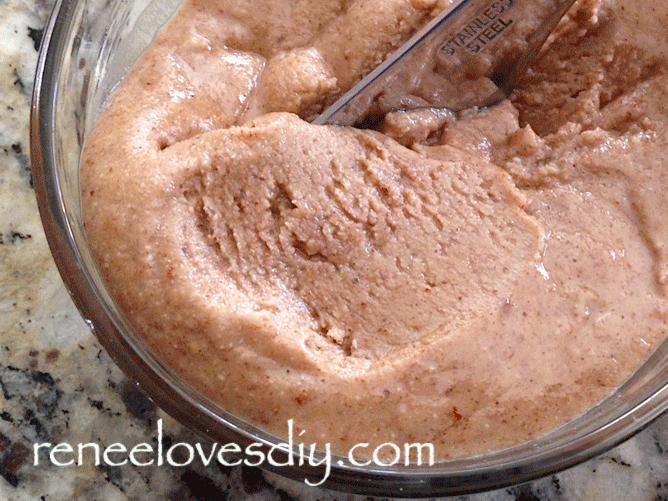
As you can see in the above photo, the paste appears a bit dry. The butter can be used as is, but to improve the flavor and add smoothness, add the coconut oil, honey and a little salt!
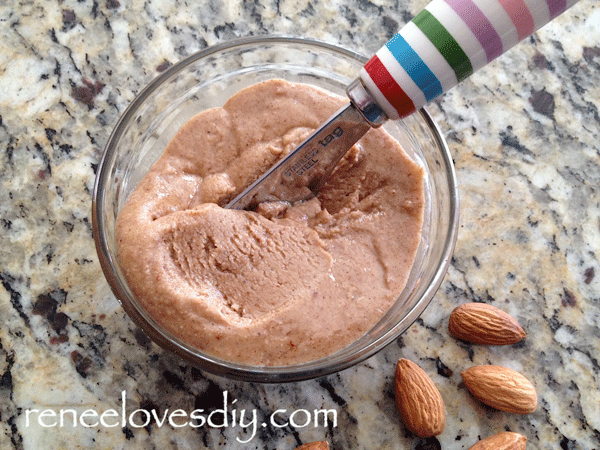
Blend again and it will result in a smooth and delicious almond butter! Store the almond butter in the refrigerator!
Notice that I only prepare 1/2 cup of almond butter at a time. Why? Because I am a pig and there is always the fear that I will eat all of it in one sitting! – Don’t laugh – it has happened! For me, it is best to keep it at 1/2 cup!
The other reason to prepare small amounts – Nuts will go rancid faster after heating and grinding. Small amounts alleviate the fear of this delicious butter going rancid before you have time to gobble it up!
Enjoy!