Monthly Archives: September 2014

Breakfast Burritos

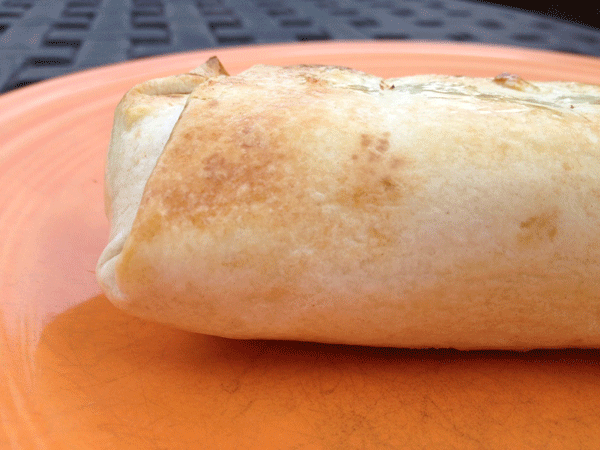
Burrito
Burrito

Here is a breakfast burrito recipe that is absolutely delicious!  The combination of eggs, bacon, peppers & onion and just enough jalapeño to give this recipe a little kick, will get your day going!

Here is the recipe so you can enjoy them too!  A printable copy can be found at the bottom of the post!

Breakfast Burritos
This recipe makes enough to generously fill  4 – 10″ tortillas

1/2 small onion, diced
1/2 green pepper, diced
1 jalapeño, diced (optional)   At my house – it would be 2 jalapeños and –  Not Optional!
4 slices of cooked bacon, crumbled
8 eggs
1/2 cup milk
1&1/2 cups grated cheese –  I like pepper jack & cheddar mixed
salt & pepper to taste
small amount of oil to prepare the frying pan
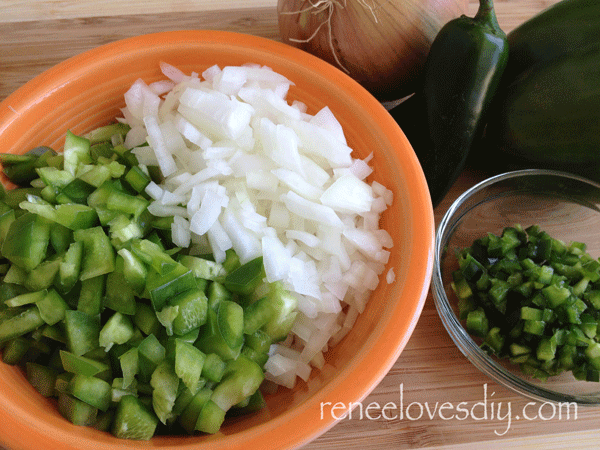
Egg Burrito Ingredients

Saute the onions, pepper and the jalapeños until the onions are translucent and the peppers are soft. Transfer to a medium sized bowl.
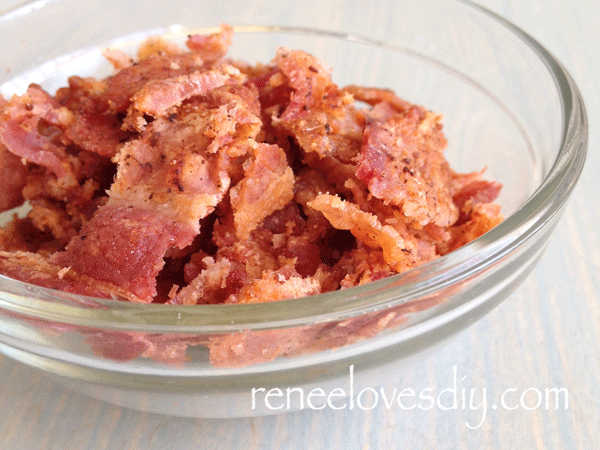
Bacon for an Egg Burrito

Crumble your cooked bacon!

Scrambled Eggs for Egg Burrito

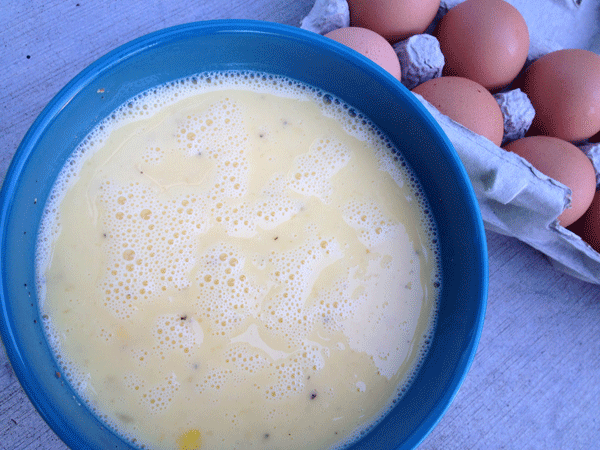
In a medium bowl, mix the eggs and milk.  Whisk until well blended and season with salt and pepper.

Scrambled Eggs for Breakfast Burrito

Heat a greased skillet over medium heat.  Pour the egg mixture onto the heated pan and gently stir until the eggs are set.  Transfer to a large clean bowl.  Add the onion/pepper mixture,  crumbled bacon and grated cheese.  Mix until blended.  Check seasoning!

Egg Burrito
Egg Burrito

Place one fourth of the mixture onto a warmed tortilla.  Fold up and enjoy!
They are delicious!

Here is the Printable Recipe!

[gmc_recipe 1954]
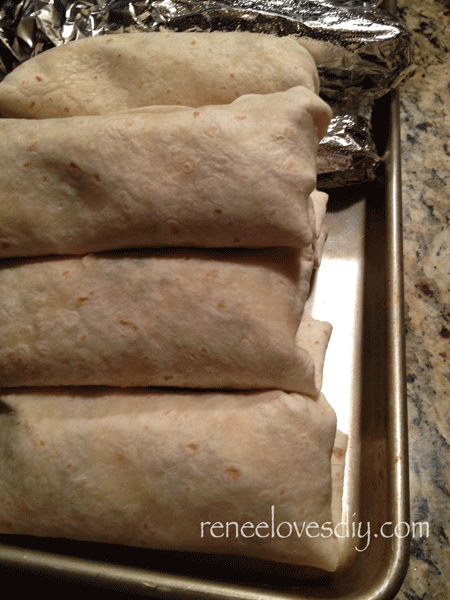
Delicious Egg Burritos

When I make Egg Burritos,  I like to make a few extras to throw in the freezer!
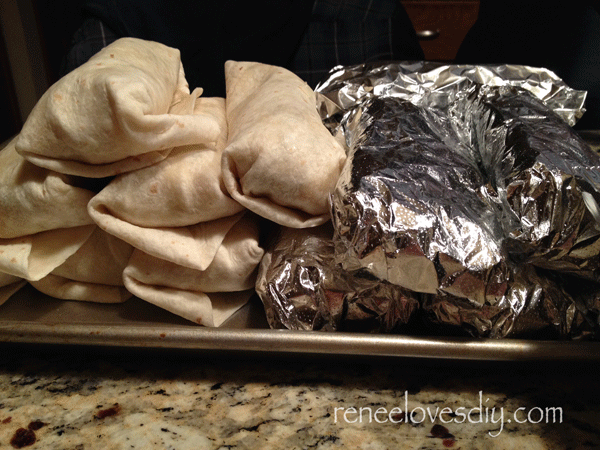
Delicious Egg Burritos!

The last time I prepared these burritos I needed 40 of them.  My husband was participating in a family fishing tournament and he needed to provide breakfast for 27 fishermen!  I came up with the idea of preparing the egg burritos and freezing them so it would be easy to transport them and then simply reheat them in the oven!

Now you know why I have pictures of mounds of burritos!  I made piles and piles that day.  We also wrapped each burrito in aluminum foil to make it easy to prepare them in the oven!

I am including the recipe for 40 Breakfast Burritos –  for anyone who is as crazy as I am!

40 Breakfast Burritos

3 large onions, diced
6 green peppers, diced
6-10 jalapeños, diced
40 sliced of cooked bacon, crumbled
60 eggs
4 cups of milk
3 lbs grated cheese

Prepare the above ingredients in the same manner as the recipe for a mere 4 burritos!

Because I was making such large quantities and because I am very concerned about food safety; I immediately cooled everything as I prepared it.  Starting with the bacon, once it was crumbled I refrigerated it, same thing with the pepper mixture and the grated cheese.  The last step was scrambling the eggs.  I prepared half the scrambled eggs at a time.  I cooled the cooked eggs in a metal bowl that I placed in an ice bath.  After it had cooled, I added half of each of the bacon, pepper mixture and cheese.  I then mixed this well, checked my seasoning and filled my tortillas.  I wrapped each burrito in aluminum foil.  As soon as I had a cookie sheet filled with a single layer of burritos, I placed them in the freezer.  I then prepared the rest of the scrambled eggs and did it all again.  Once the burritos were frozen, I placed them in labeled ziploc bags.

The frozen burritos can be reheated in the microwave.  Check after one minute!

Frozen burritos can also be reheated in the oven:

Preheat oven to 350 degrees.  Place frozen burritos in the oven for 20-30 minutes.  If you want them toasted on the outside, remove the aluminum foil after 20 minutes and place them on a pan and return the burritos to the oven.  Cook until the desired crispness is attained!

Update:
The breakfast burritos were a big hit with the fishermen!  I guess I know what I will be making for their next fishing trip!

Recently, my sister had lots of company and prepared 20 breakfast burritos ahead of time and froze them.  The morning she had to feed her guests , she reheated the burritos in the oven and the burritos were ready for each person as they woke up!  She said it worked perfectly and everyone enjoyed their breakfast burritos!
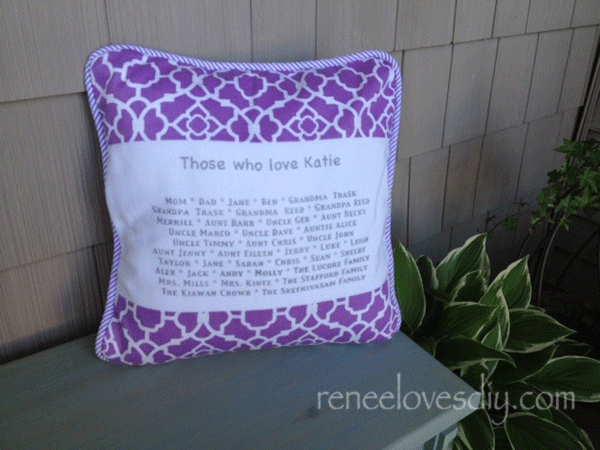


Personalize any Gift with an Inkjet Printer!

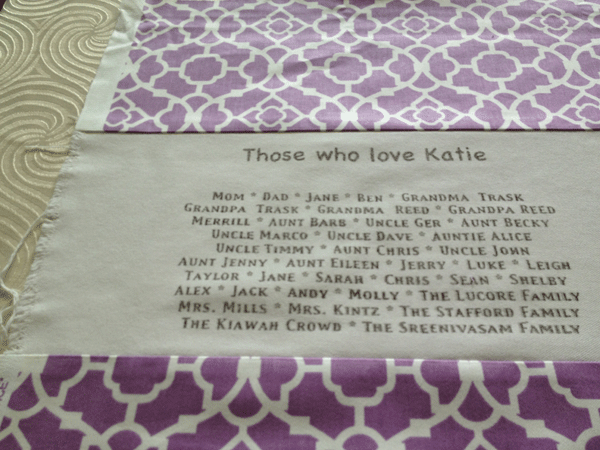
A gift pillow showing how much someone is loved!

Recently, while surfing the net, I discovered how easy it is to transfer letters using just an ink jet printer!  I discovered this technique on a blog called littlebitfunky.com.  This blogger used the freezer paper transfer to create a cute wooden sign.  This was not exactly what I needed, but it was the start of something fabulous!

For my use, I needed to transfer the print to fabric to create a personalized pillow for a family friend.

Materials Required:

The mirror image of the document you want transferred.
Not sure how to create a mirror image – just google mirror image for your computer’s word processing program. It is  very simple.  This is the link that taught me how to create a mirror image using a text box – super easy to do!  Thank you TechRepublic!

Freezer paper cut into 8 1/2″ X 11″ sheets

The fabric to which you want to transfer the image.
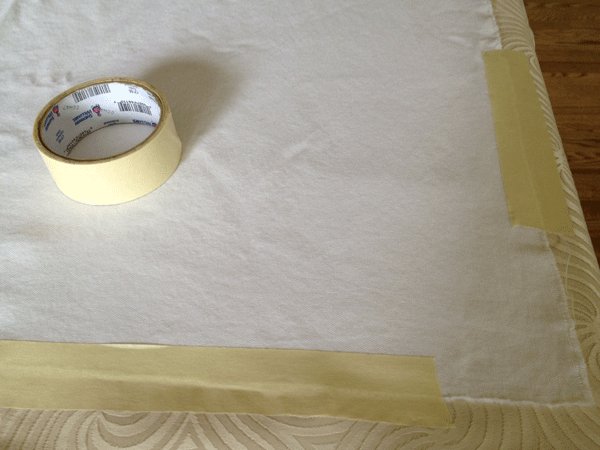
Make sure the fabric is secure and will not shift while you are transferring the image.

Getting fabric ready for transfer.

That’s it!  You don’t even have to go shopping to try this project! Unless, of course, if you don’t have freezer paper, an ink jet printer or a project to personalize!

Now let’s get it done!

Once your transfer fabric is ready, place a sheet of freezer paper between two sheets of regular printer paper and insert in the paper tray.  Make sure the waxy side of the freezer paper is the side that will be printed on.  Hit print twice.  The first print will be on regular paper and the second will print on the freezer paper.

Some sites will suggest gluing the freezer paper onto a piece of card stock, but I like to keep things easy and simply sending it between two sheets of paper worked for me.  The freezer paper likes to curl so the top sheet keeps it flat so it can feed into the printer.  If this doesn’t work for you, try gluing the freezer paper onto a piece of printer paper or card stock.

I have also seen sites where they  will glue the fabric to freezer paper and send that through the printer.  I have a new printer and there was no way I am sending fraying fabric through my printer.  Plus, it limits the size of your project to an 8.5 X 11 inch piece of fabric!  Just not big enough for me!

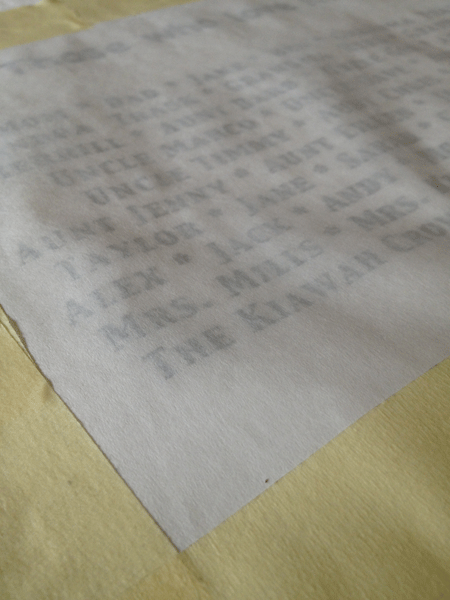
Once your image has printed – do not touch it!  It will easily smudge.  Quickly and with care,  I place it on top of my fabric!  Make sure the image is in the correct spot the first time.  It cannot be moved!

Secure the image with tape.  I even have pieces of tape ready so I can hold the image in place with one hand while securing it with tape.

Freezer Paper Transfer

Finally – ready to transfer!

Using the back of a spoon, Rub the back of your image thoroughly!  Make sure you rub over the entire letter of each word!  I go over the whole image at least twice!

Freezer Paper Transfer

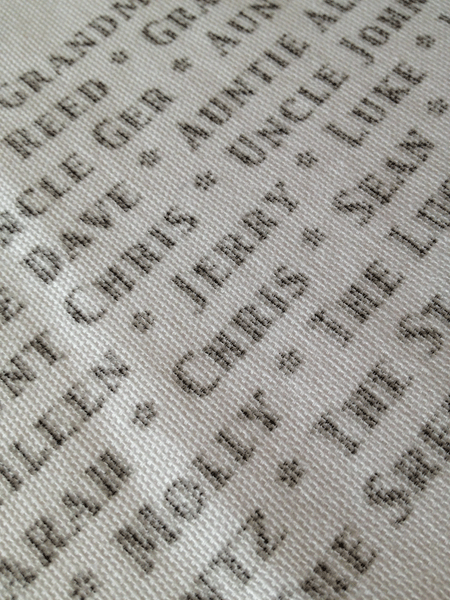
Once finished, remove the freezer paper.  Then take a moment to gaze at the beauty of the image you have created!

Message Pillow
Message Pillow

One more step – After my image is completely dry, I ironed the image to heat-set the ink!

Done!  You now have a unique and personalized gift that anyone would love!
Well – I wasn’t done – I still needed to sew my pillow together!

I have used this technique multiple times already!
It makes any ordinary gift -extraordinary!

Gluten-free Lemon Cake

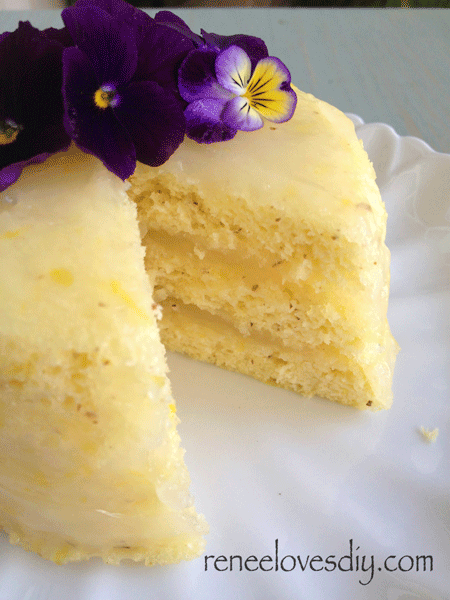
Gluten-free Lemon Cake

If you have been checking my latest posts, you would have found a delicious, easy to make and super quick chocolate ganache cake.  Today’s post is that same cake in a tasty lemon version.  The cake itself is made in the microwave and it is enough for 4 people to have the perfect size piece of cake or for one person to eat it all!

This cake is made, once again, from my favorite baking mix – Pamela’s Baking and Pancake Mix.  This is such a versatile mix!  I use it for pancakes, muffins, bread, cookies and cakes!

Here is the recipe so you can make your own!

Gluten-free Lemon Cake

1 egg
1 tsp oil (I use coconut oil!)
3 tablespoons buttermilk
1 teaspoon lemon juice
1/2 tsp lemon zest
1/4 teaspoon vanilla
1 &1/2 tablespoons of sugar
Mix the above ingredients until well blended.

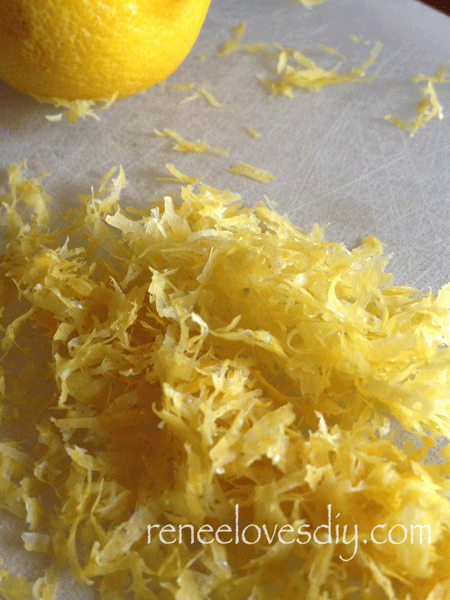
Lemon Zest
Lemon Zest
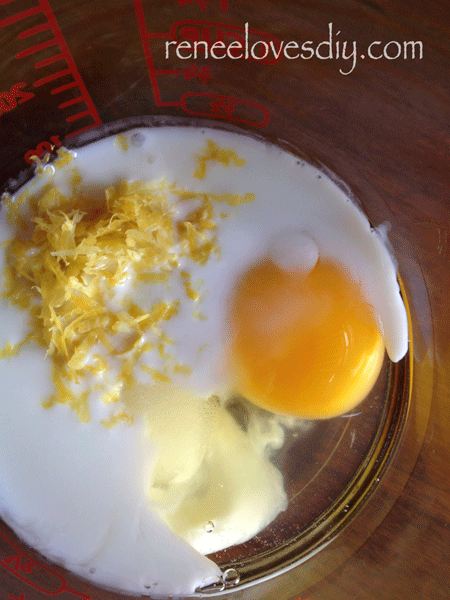
Ingredients for a gluten-free lemon cake!

In a small bowl, mix the following dry ingredients:
1/3 cup Pamela’s Baking and Pancake Mix
1 teaspoon baking powder

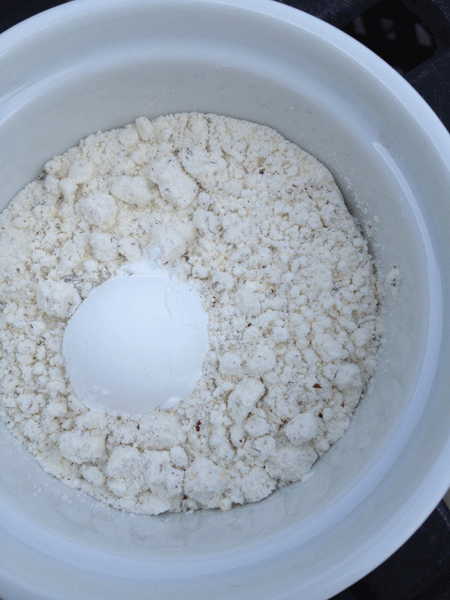
Gluten-free lemon cake dry ingredients

Blend the dry ingredients with the egg mixture and using a spatula, transfer the batter to a microwavable bowl.  I used a 2 cup ramekin, which worked really well, since the sides are straight and that allowed me to easily slice the cake to create a layered cake!  Place in the microwave for 2 minutes on high.

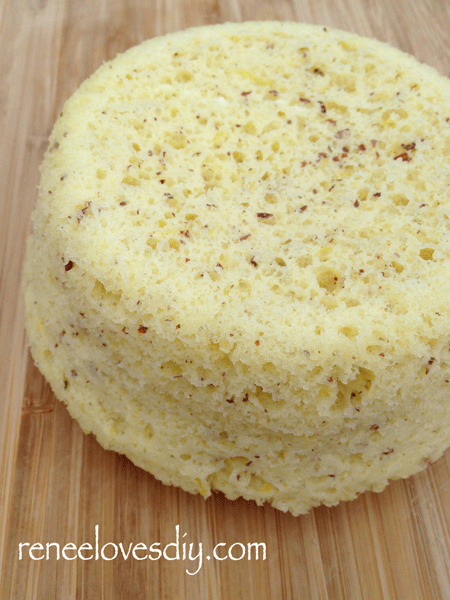
Remove the ramekin from the microwave.  It will be very hot!  Loosen the sides of the cake and turn it over onto a cooling rack.  If it looks like the bottom of the cake is not quite done, just place it back in the ramekin and microwave a little longer!  It sounds crazy, but it works!

Gluten-free Lemon Cake

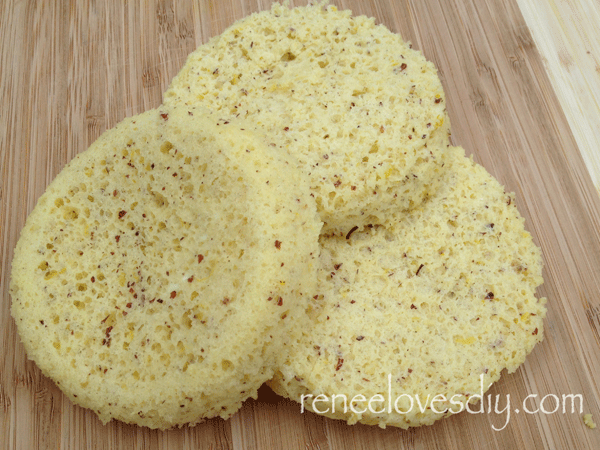
After the cake has cooled, slice it into three layers.

Slice the gluten-free lemon cake into thirds!

Now for the good stuff!  I layered my cake with lemon filling that I prepared using the following recipe.  If you don’t wish to take the time to make your own lemon filling, pick up a jar of lemon curd at the grocery store.  The lemon curd from a jar is rather stiff therefore,  I would warm it  slightly in the microwave before using.

Lemon filling – this recipe comes from a Betty Crocker Cookbook my roommate gave me many years ago!  On the front flap she left a message about using it when I am “feeling domestic”!  As you can see from my blog, I have been feeling very domestic lately!

Clear Lemon Filling
3/4 cup sugar
3 tablespoons cornstarch
1/4 teaspoon salt
3/4 cup water
1 teaspoon lemon zest
1 tablespoon butter
1/3 cup lemon juice

Mix sugar, cornstarch and salt in saucepan.  Slowly add the water and cook over medium heat; stir constantly until mixture thickens and boils.  Let boil for 5 minutes, stirring constantly.  Remove from heat, stir in  lemon zest, butter and lemon juice.  Let cool in the refrigerator.

After your lemon filling has cooled, spread it between your layers of cake.  Stack the cake layers then cover the entire cake with the lemon filling.  Enjoy!

Gluten-free Lemon Cake