Wonderful Breakfast & Great Snack
At least that’s the way it goes at my house and it never seems to last very long!
My family can’t seem to get enough of all the goodness granola has to offer and the expensive single pound bags at the grocery store, although delicious, were not cutting it. We needed larger quantities at a lower cost!
Making granola is very easy. Think about what ingredients you enjoy in granola, put it together with some oil and a sweetener (Not necessary, but oh so good!). Lightly toast at a low temperature and voila – Granola!
Here is my recipe!
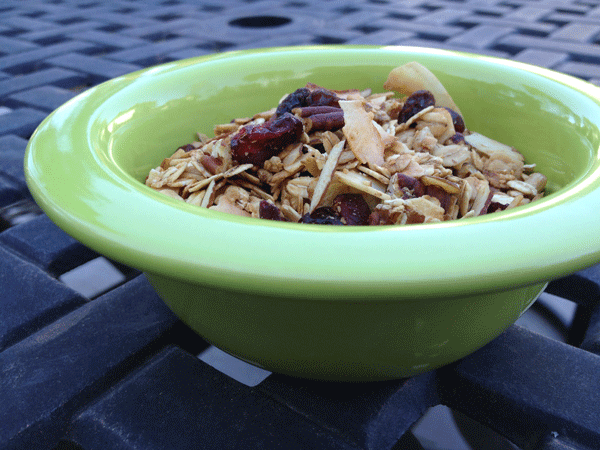
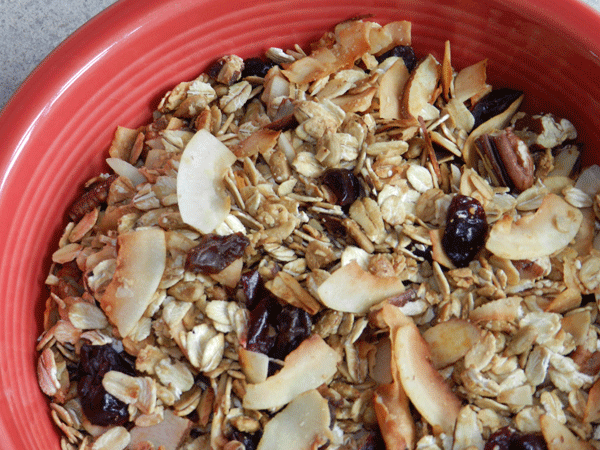
Granola Recipe
5 cups oatmeal
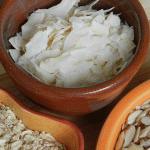
1 ½ cups coconut (I use unsweetened coconut chips when I can!)
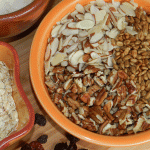
¾ cups chopped pecans
¾ cups chopped almonds
½ cup sunflower seeds
½ cup oat bran
½ cup honey or maple syrup
1/3 cup coconut oil
1 teaspoon vanilla
1 cup raisins or dried cranberries
Preheat oven to 300 degrees.
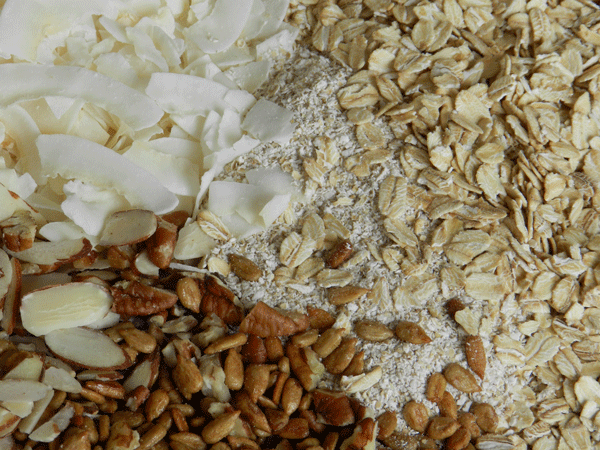
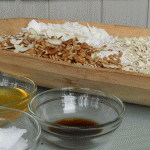
Mix the oatmeal, coconut, pecans, almonds, sunflower seeds and oat bran in a large bowl.
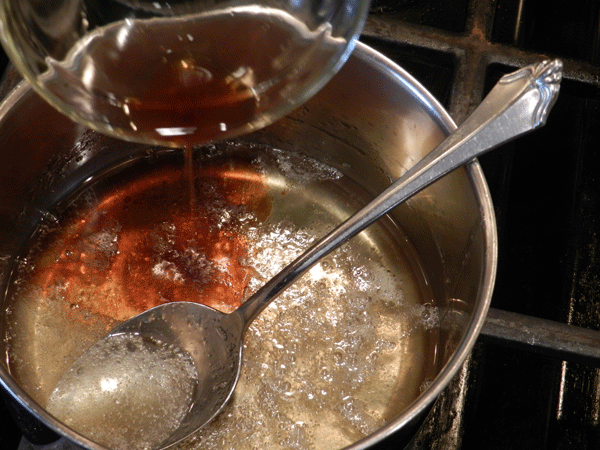
To a small saucepan add the coconut oil and sweetener (honey or maple syrup). Let the mixture come to a simmer, remove from heat and add the vanilla.
Pour the liquid over the dry ingredients and mix well. Distribute the oatmeal mixture evenly in two jelly roll pans.

Place in the oven and stir well after 10 minutes and every 5 minutes after that until it starts to get to a nice golden brown. It usually takes about 20 minutes. Remove from the oven, let cool and add the raisins or dried cranberries or both! Store in an airtight container. Ours usually lasts for about a week, but it should be good for several. Enjoy!
I love to eat granola, but honestly it has a lot of calories. My favorite way to eat the granola is to mix unsweetened greek yogurt with blueberries. If you like, sweeten it a bit with honey or maple syrup – I like it! I will then top that mixture with 1/3 cup of granola! Delicious and not so many calories!